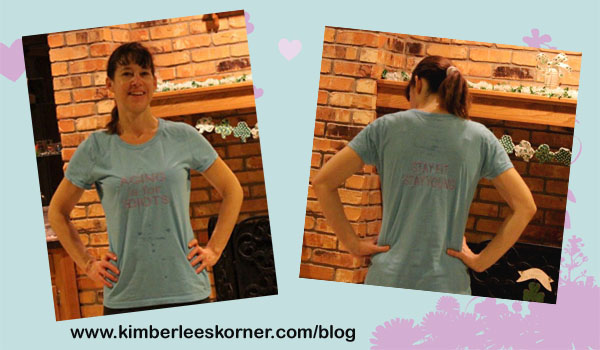
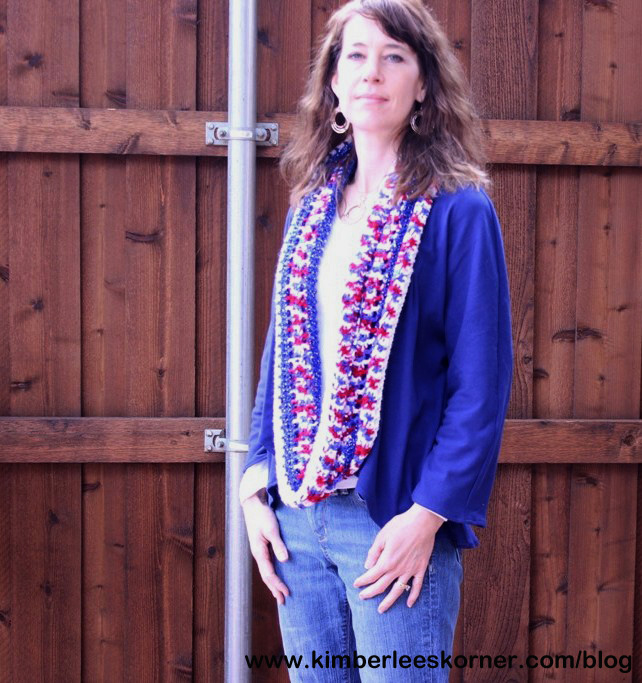
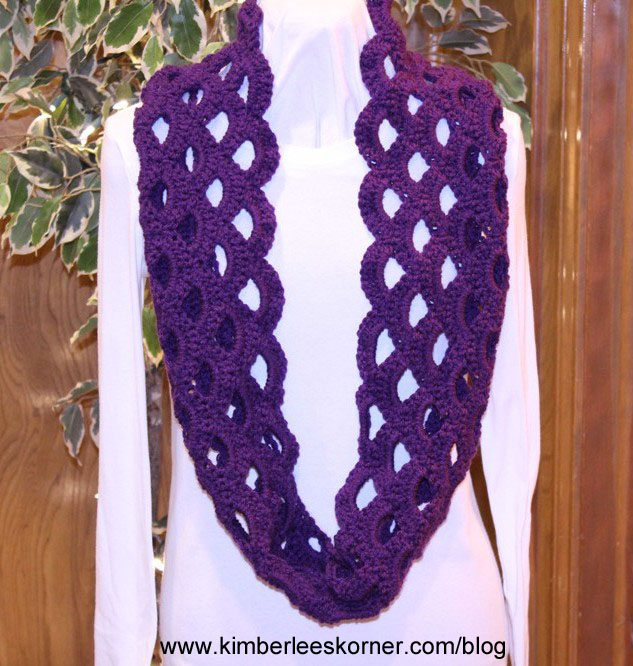
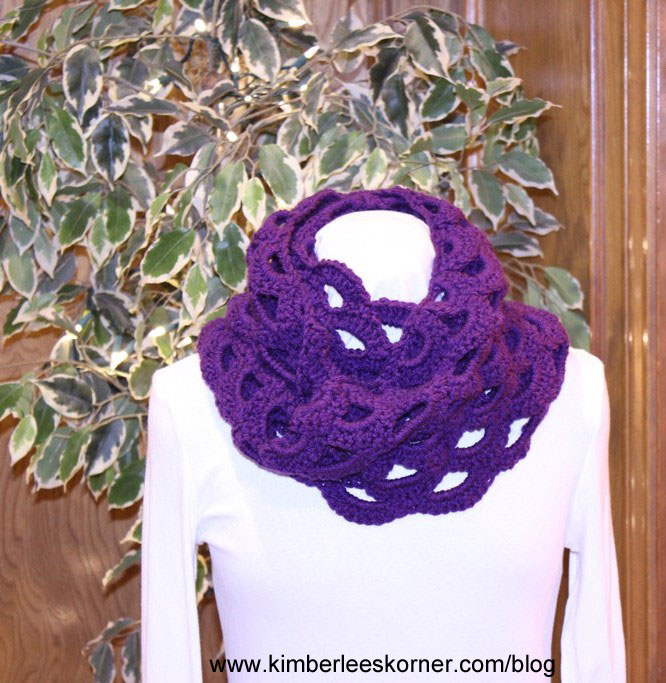
Top with Knit Lace Panel
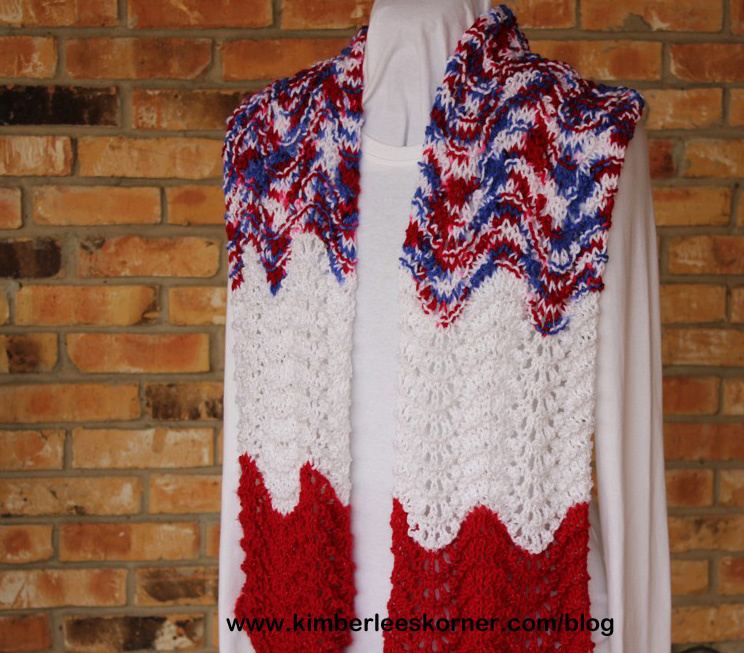
I recently designed this new shirt that has a lace knit panel insert on the front and back. The idea for creating this was for two reasons. One, this shirt was a little too small (tight) for me and Two, I really like this easy to knit lace stitch that I had recently used to create another project.
To make this you will need to know how to knit and how to use a sewing machine.
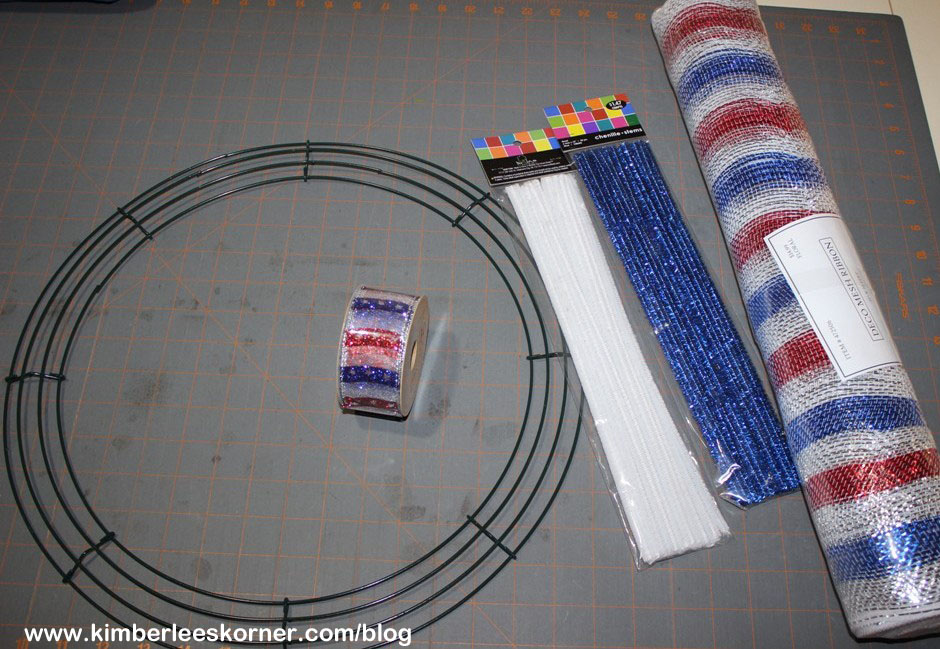
Supplies needed:
- Size US 8 knitting needles
- Worsted weight yarn that is washable – I used Hobby Lobby I Love this Yarn
- T-shirt that is a little too snug or one size too small for you
- Fabric scissors
- Sewing machine
- Sewing thread to match shirt
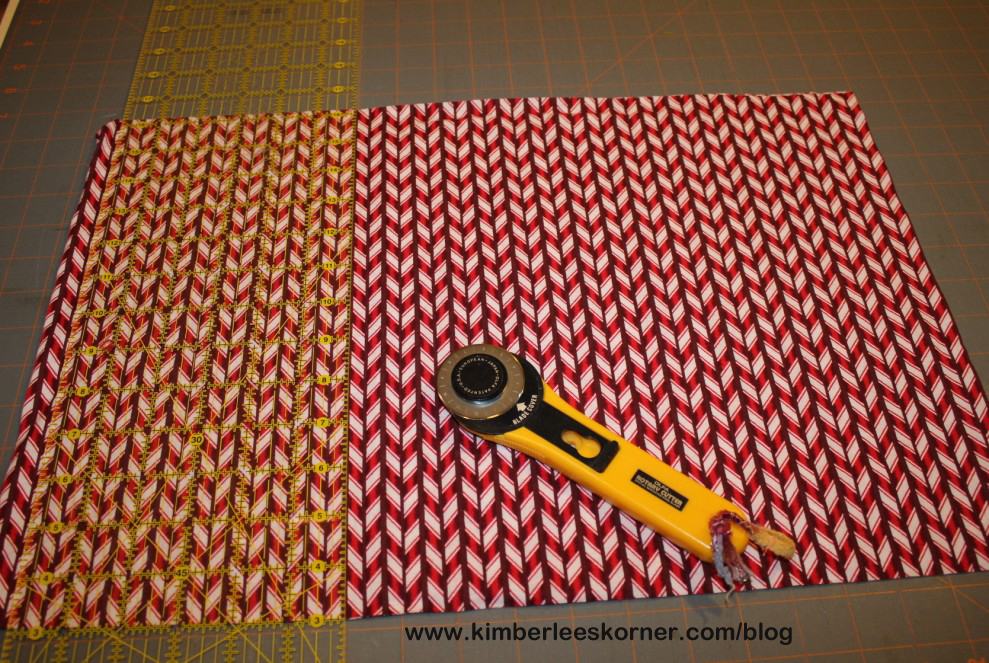
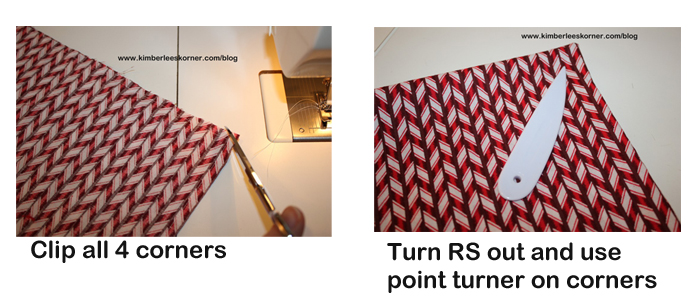
Step 1: Using your fabric scissors cut up the center front and center back of shirt – use a tape measure or ruler to determine the center point.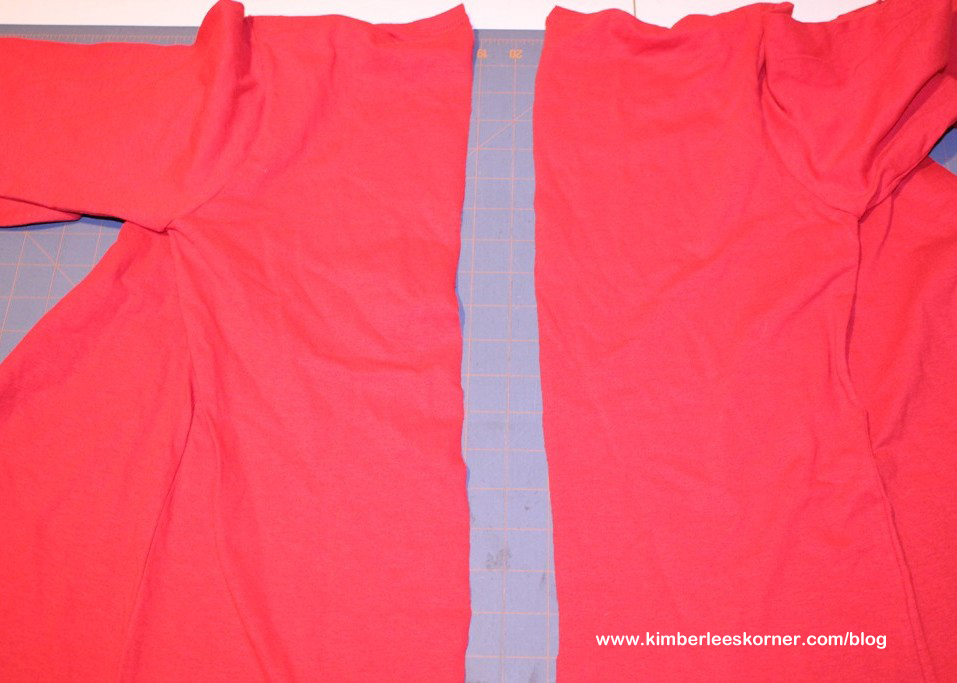
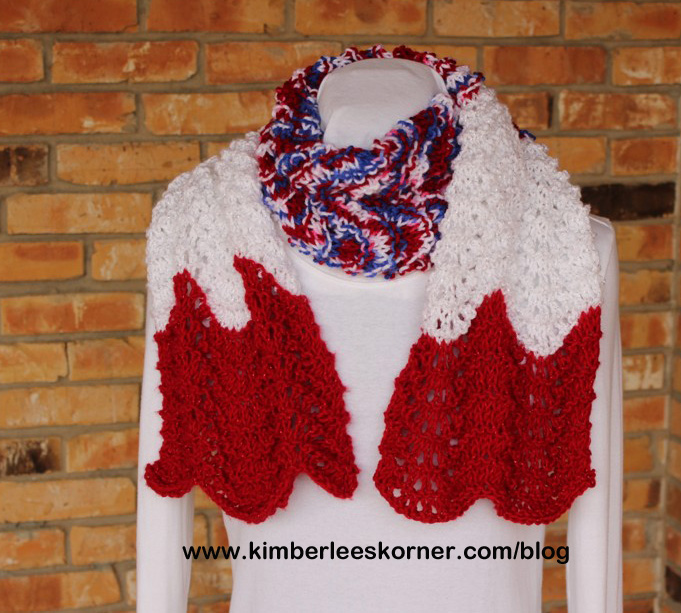
Step 2: Knit your lace panels
Cast on 16 sts – knit the first row
Row 1: *k2tog, yo, k2; rep from * across
Rep Row 1 for pattern – measure your front cut center line of shirt and when your knitted piece is close to that length knit 1 more row, then bind off.
Make another panel for the back following the same pattern above – note that the back section will be longer so you will need to measure that and knit this panel a little longer.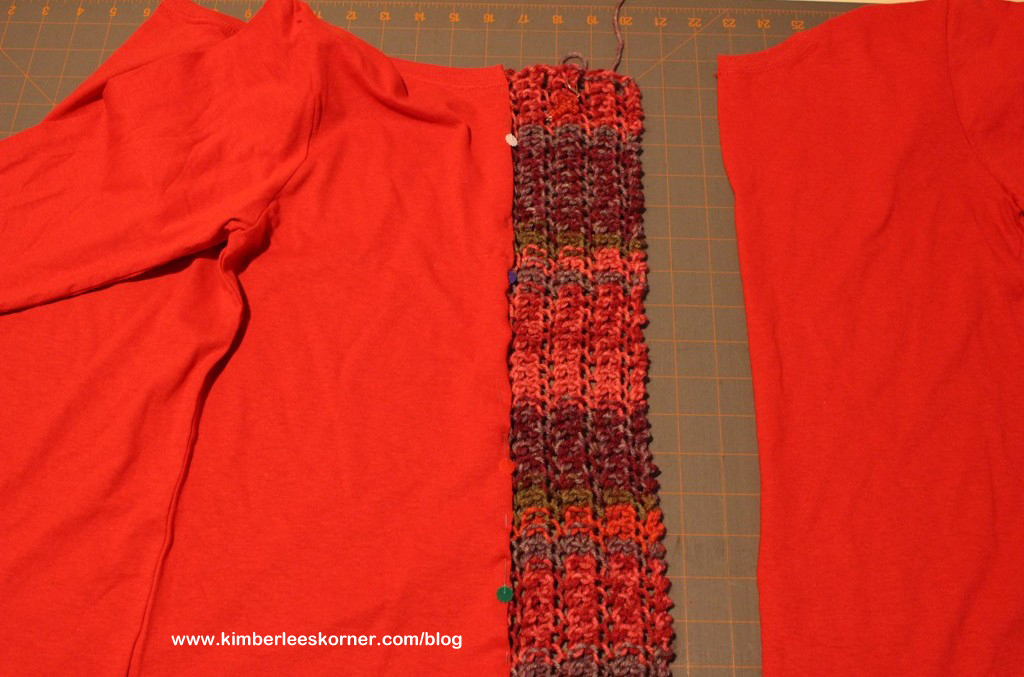
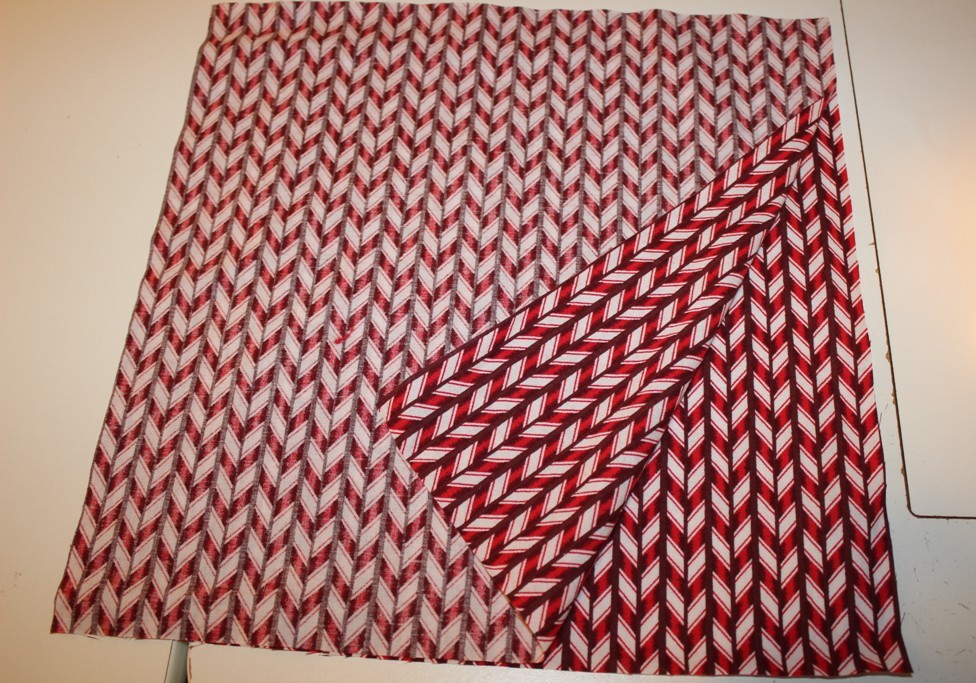
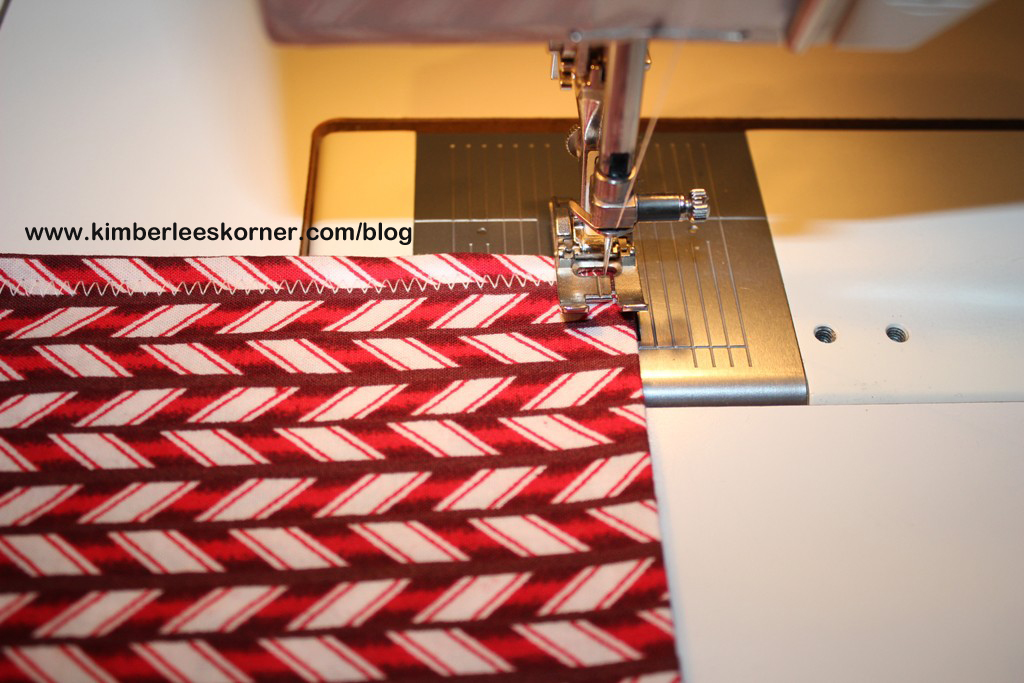
Step 3: When both your panels are knitted you will then pin them to the shirt front and back and using your sewing machine and a stitch length of approx. 3 stitch the shirt and panel together with the shirt laying on top of the panel – use the inner edge of you presser foot (see below) as a guide for a seam allowance. You will have to stitch down each side of the panel so you will stitch 4 different times. Weave in the ends of the yarn when you are done – or you could do it before but I did mine at the end.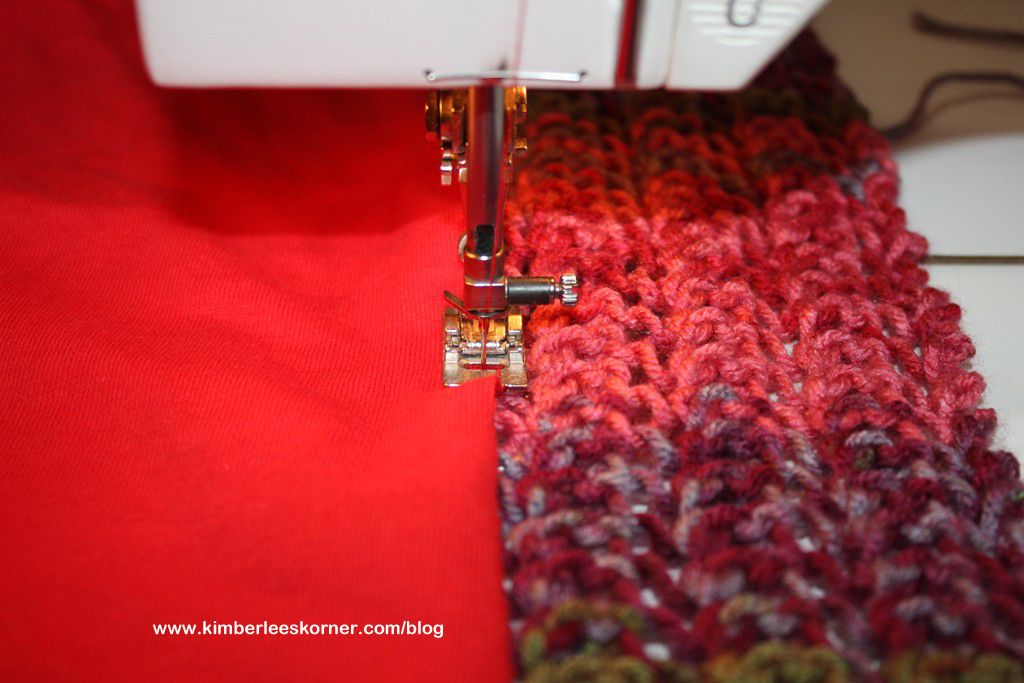
That’s it – all done. Super simple and fun to wear. The top can be worn as is or with a camisole or tank top underneath. I have a tank top under mine that I found at Old Navy and it was the perfect red to match the shirt. 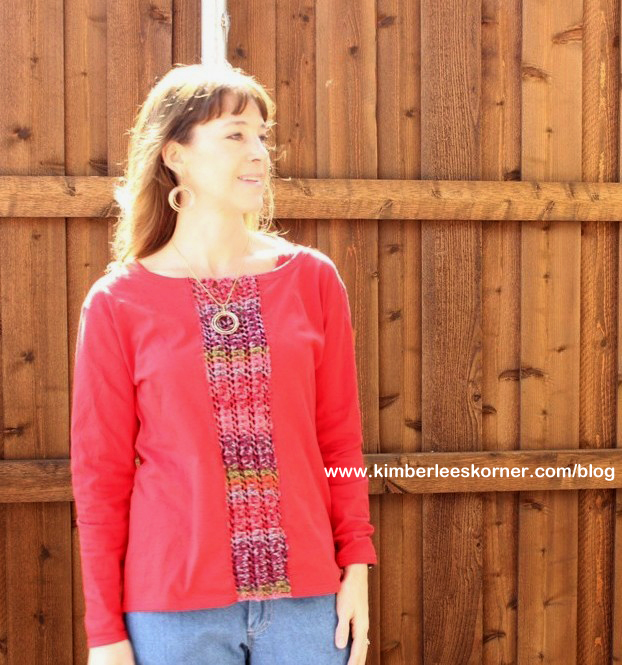
I am currently working on a short sleeve version for spring using a different lace stitch and I will be sharing that on my blog in March – so be sure to follow me via bloglovin, email or RSS feed for future updates.
Have a great day!
Kimberlee