Sewing Simple Chevron Top
This simple blue chevron top is a sewing project I finished a couple of months ago. I had intended to share it sooner but things have gotten in the way of my plans which is I guess how life goes for everyone at times. I have wore the top several times already and love how simple it was to sew and how comfortable it is to wear. Also, it looks good with skirts, shorts or jeans.
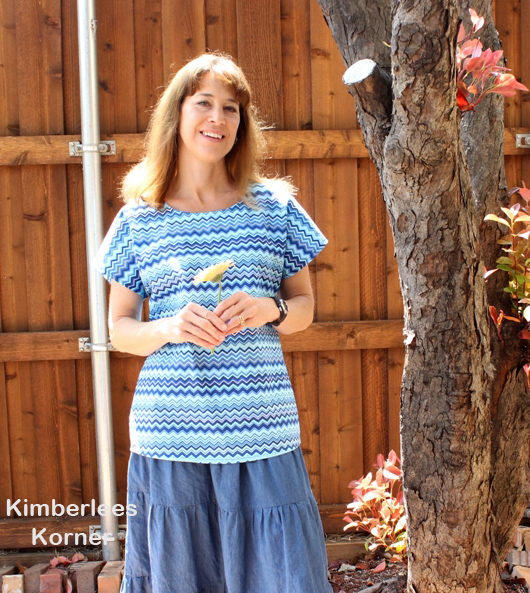
The pattern I used for this top was from the Bernina My Label software – which is pattern drafting software I have that drafts patterns by your measurements. I have mentioned it before and use it quite a bit. This top is actually not one of the patterns in the software – I used the tunic pattern to design this simple cap sleeve top. It is only two pattern pieces – a front and back – and I make a bias neckband facing which I am going to share with you below on how to do this.
The fabric I used was a 100% cotton fabric that I think I ordered from fabric.com. The one thing about making clothing with the chevron prints is that you want to have a little extra fabric to match the chevron pattern as close a possible to look uniform. Also, you want to make a top that does not have a lot of complicated darts or seams that will make the print look strange.
![]()
The neckline of this top is sewn with a bias strip of fabric for the facing. A lot of patterns come with a facing that is curved but I often find they are kind of wide and do not always lay well. I have found that using the bias facing technique works much better – especially with this style of top. Below is a little tutorial on how to make a bias neckline facing.
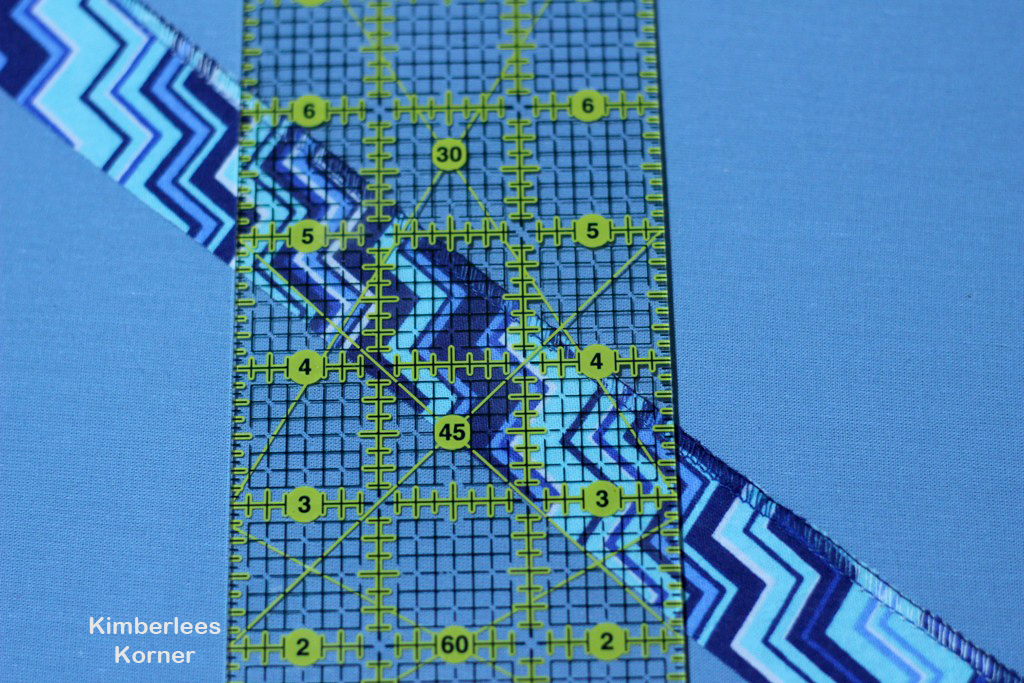
- Step 1 – cut a fabric strip on the bias that is 1 1/4 inch or 1 1/2 inch wide and a little longer than the length around your neckline. For this top I did 1 1/4 inch wide. Note: the bias is the 45 degree diagonal grain of the fabric – most quilting rulers have the angles marked and you can use that as a cutting guide.
- Step 2 – after you have your strip cut finish off one of the long raw edges with a serger or a zigzag stitch
- Step 3 – then pin the other raw edge with right sides together to your neckline starting at the center back of neck- overlap the ends a little (what I usually do is just have an extra long strip and after I am done pinning it to the neckline I cut it where I need to)
- Step 4 – sew the strip to the neckline edge using a 1/2 in seam allowance
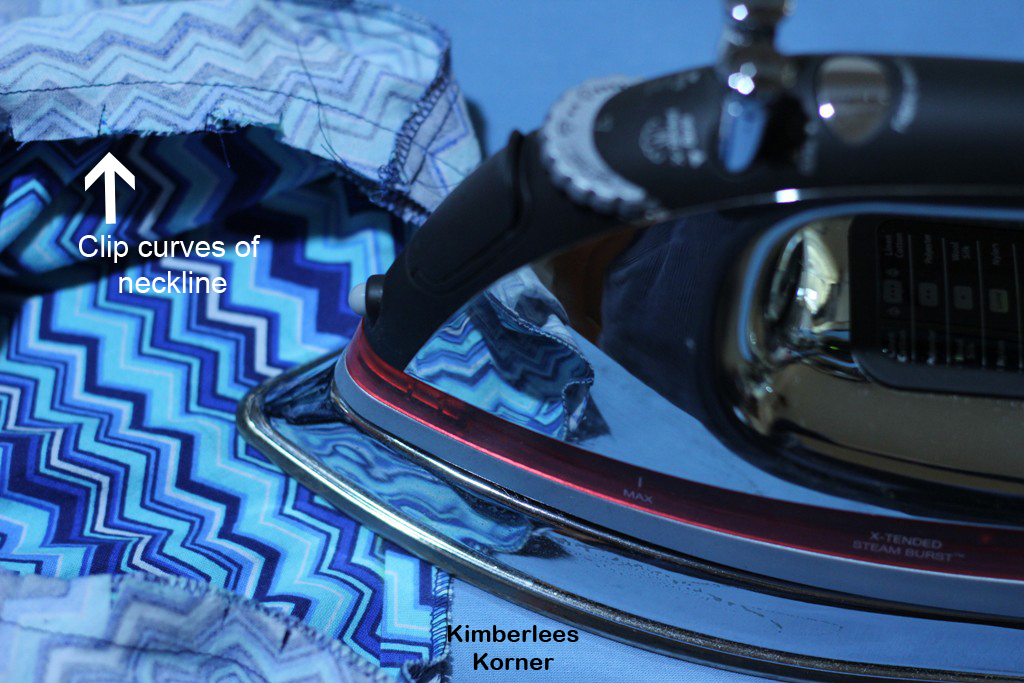
- Step 5 – Clip the curved neckline edges close to stitching line, with a steam iron press bias strip out with seam pressed toward the bias strip
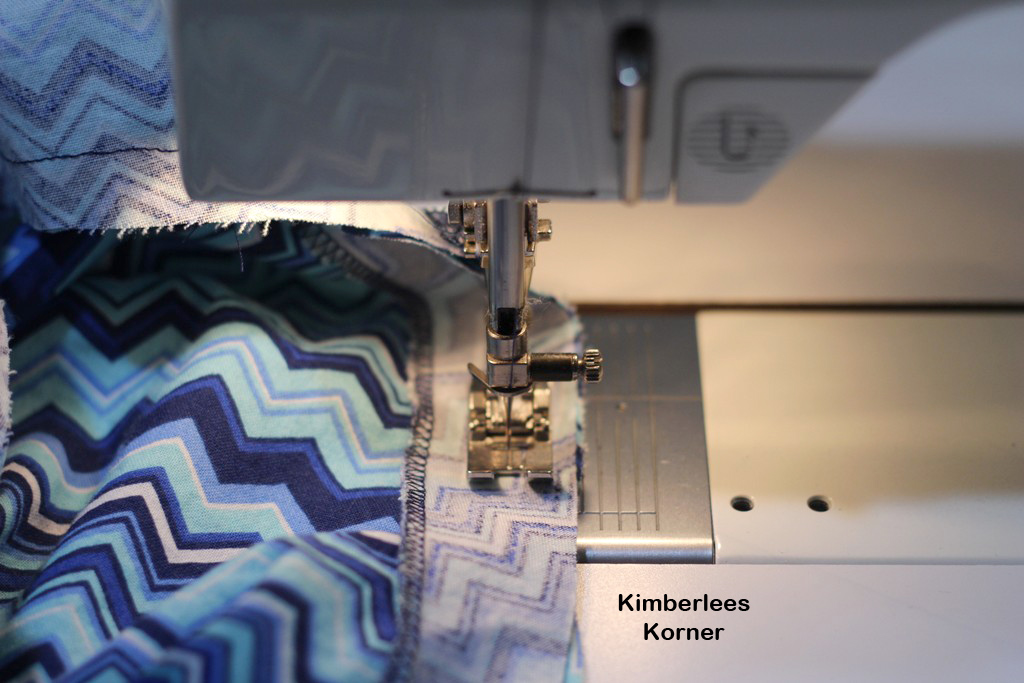
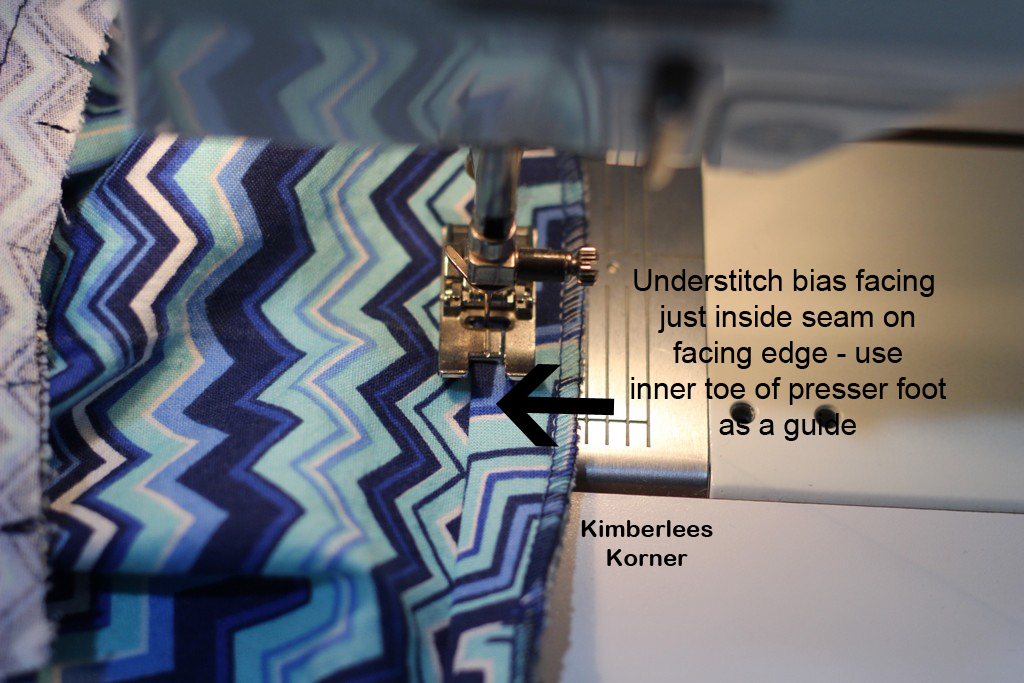
- Step 6 – Understitch the facing just inside the neckline seam on the bias strip – you can use the inner toe of your presser foot as a guide
- Step 7 – Press the facing to the inside of the top and topstitch the facing down from the right side of the top – I usually use a 3/8 inch seam or the outer edge of my presser foot as a guide while stitching around the neckline – press again after you complete your topstitching
I hope you enjoyed this tutorial and are getting lots of sewing projects done this summer. I would love to hear about what you are working on – click on Leave a Reply to tell me about your current projects and crafts. Also, to receive future blog updates and tutorials follow my blog via email subscription, RSS feed or bloglovin. All icons are in the right sidebar.
Have a great week!
Kimberlee


