Category: Decorating

Recovering Dining Room Chairs

1 Comment

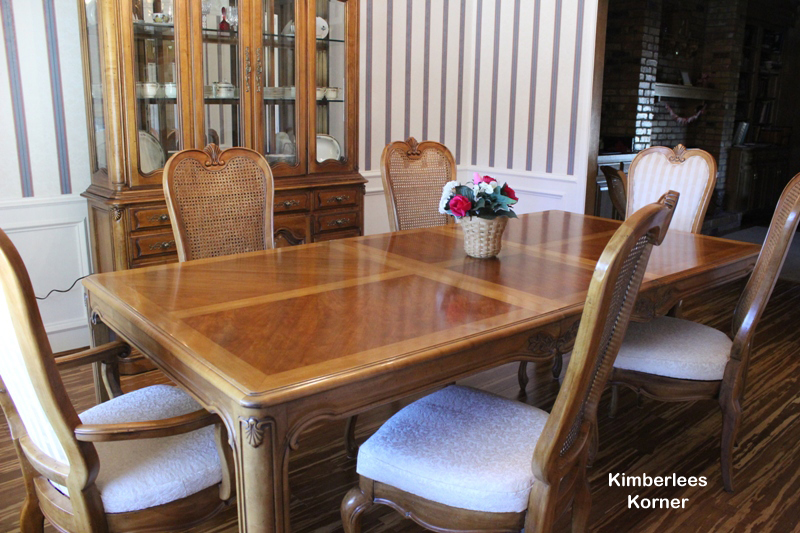
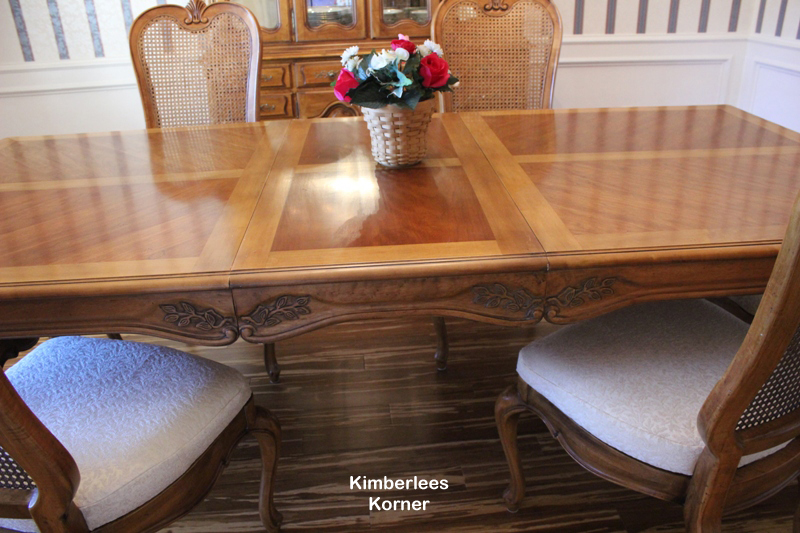
We recently bought a new-used dining room table and china cabinet from a really great consignment store in Plano, Texas – B & B Furniture Consignment.  The table and china cabinet were in good shape for their age but the chairs were another story.  The wood on the chairs was fine but the seat covers not so good.  They were pretty dirty and worn on the edges.  The price on the whole set was less than $1200.00 so we decided to get it and I decided to learn to upholster chairs!china cabinet bought at consignment store


dining room table and china cabinet with recovered chairs


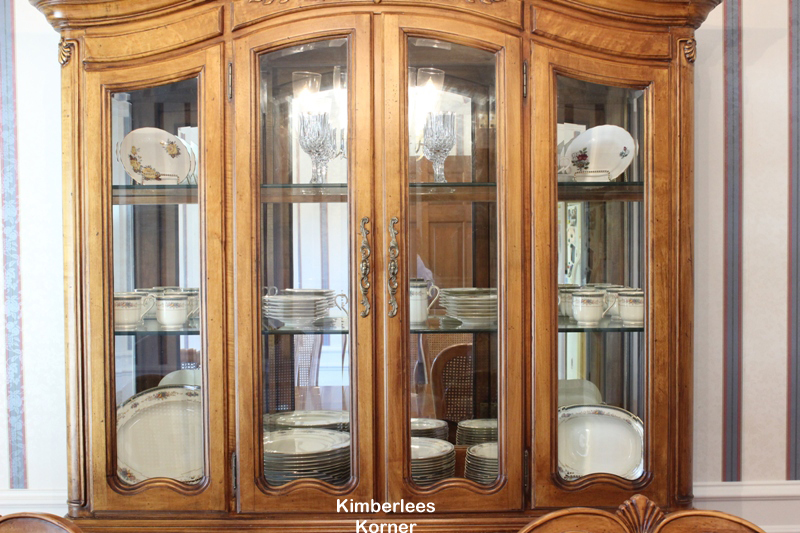
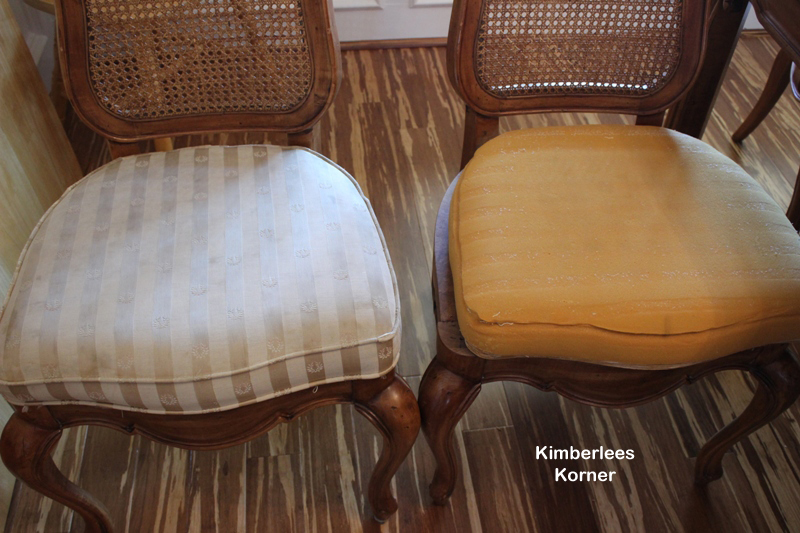
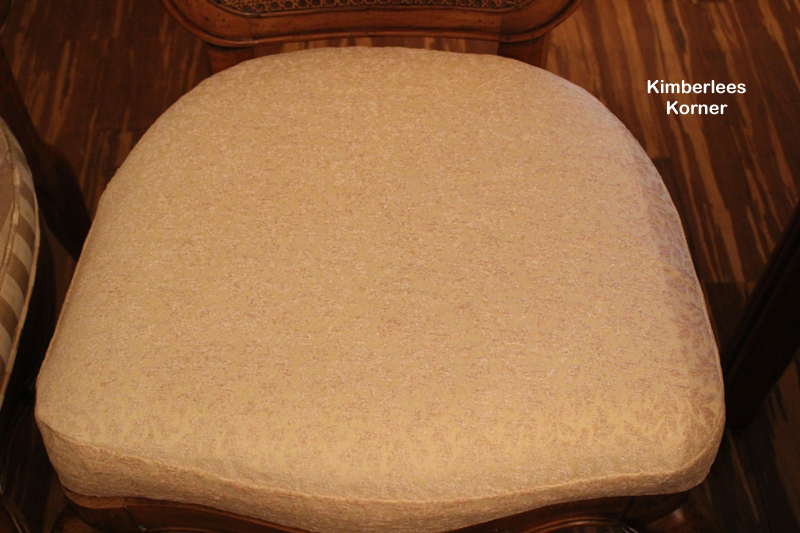
Below is a photo of one of the chairs before I recovered it and after I cleaned them twice.  They were worse and I forgot to take a before photo of that. chair cover before reupholstered

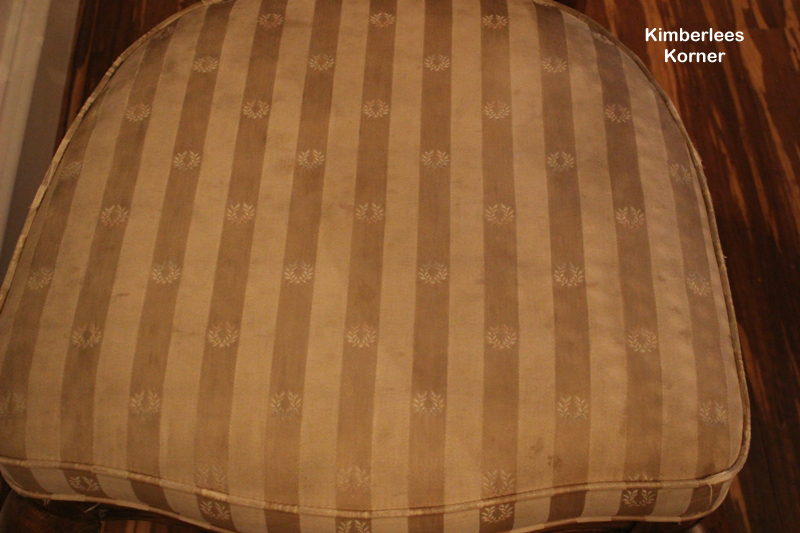
The first thing I did was clean all six chairs twice – once by hand and second time with my Bissell using the furniture attachment and some Young Living Purification oil, blue dawn and vinegar in the machine.  They were so bad I didn’t want them in the house without cleaning them – plus I knew I would have to work with them when I went to recover them.

The next thing I did was research pinerest to see how to recover dining room chairs.  I found lots of great info on various blogs and websites and decided I could do this.

The next thing I did, the day after buying the set, was go to the fabric store and get some home dec fabric.  I had to remove one of the seat covers and take it with me to find something to coordinate since two of the chairs have a fabric back and I did not want to try to tackle recovering that part – it looks kind of difficult.removed old seat cover

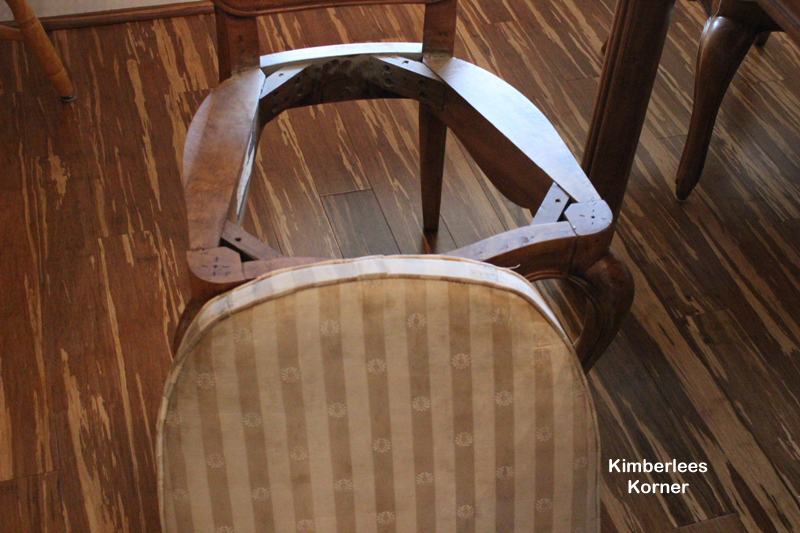
Removing the old seat was really easy – you just find the four screws on the bottom that hold the seat on and remove them.

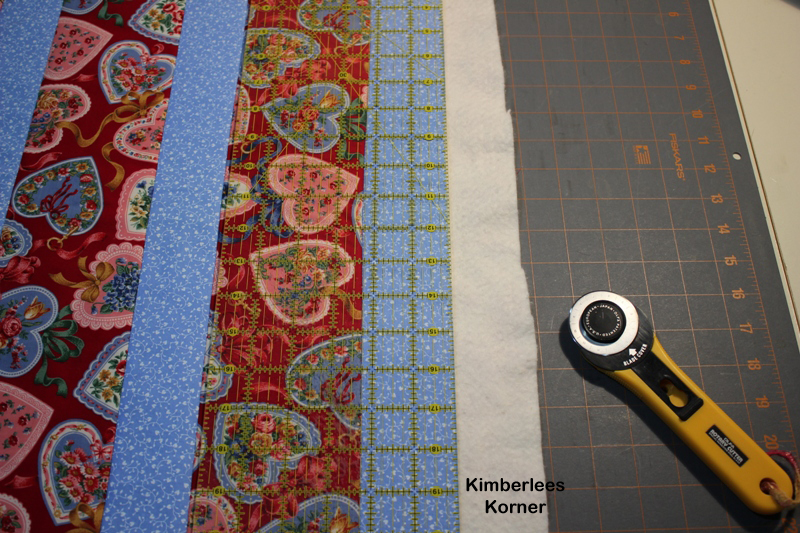
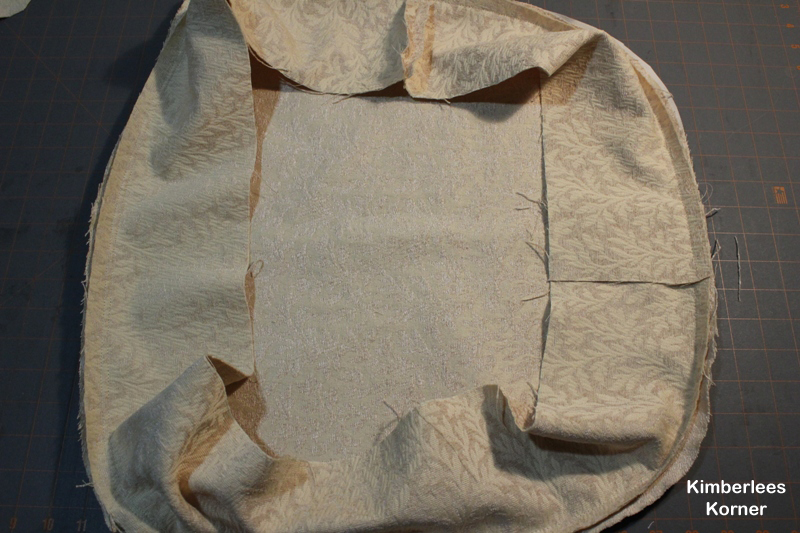
After finding the fabric I used the seat cover I had removed to make a template-pattern.  I then measured the side gussets and calculated how to cut those.  For my template I added 1/2 inch seam allowance and then cut the gusset strips 4 1/2 inches wide by the width of the fabric which was 54 inches.  You need to sew two strips together to make the strip long enough to go around the seat part and cut some of the excess off.   The existing gussets were less than 4 1/2 inches but I decided to make mine wider to wrap around to the bottom to have more of an edge to staple on.  Also, I decided to line the top seat part with muslin so I cut muslin templates as well.  The foam on the chairs was in good shape other than the discoloration so I didn’t have to replace that.

dining room chairs with one cover removed


seat covers sewn together with muslin lining

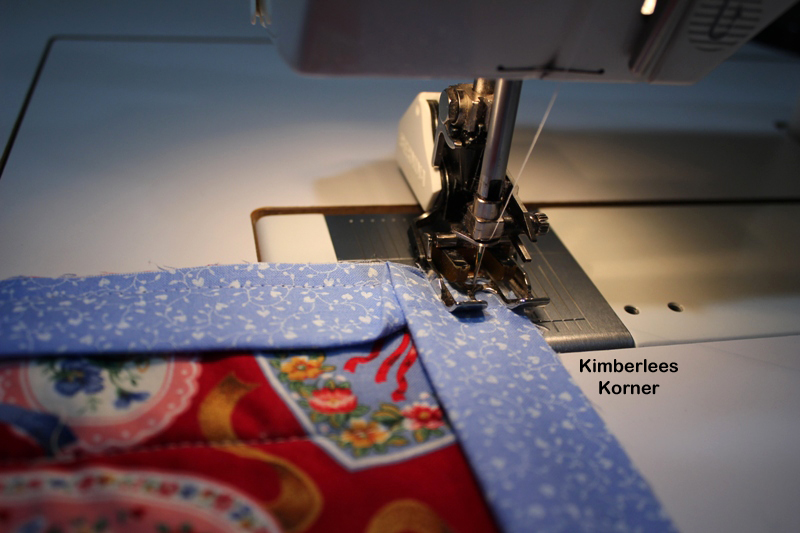
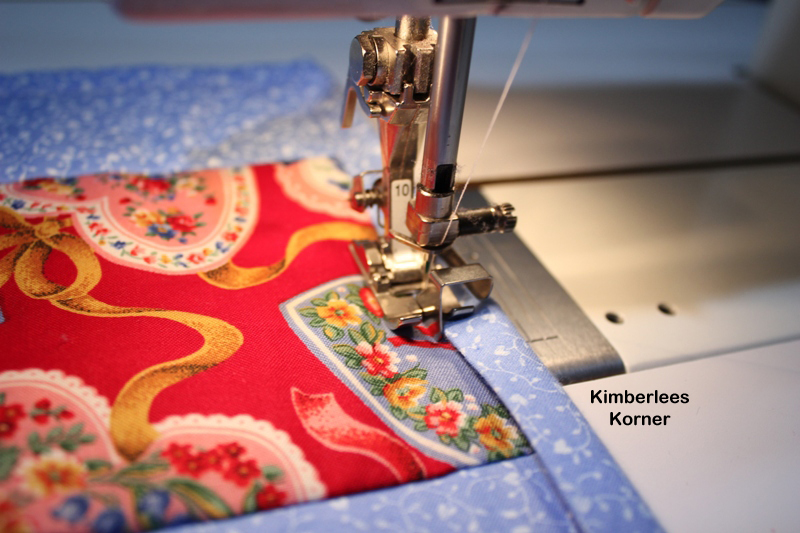
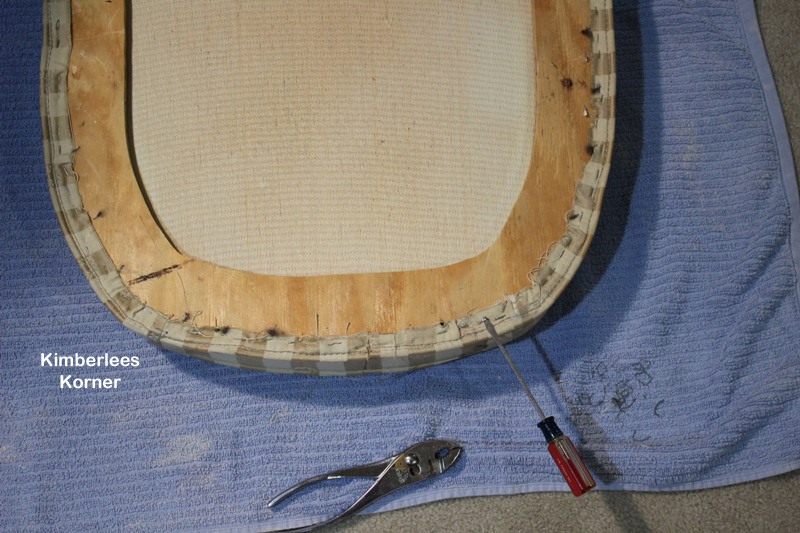
Sewing the covers was super easy and fast – probably took me about an hour.  Removing all the old seat covers was another story – that took about an hour per chair.  For that part I used a flat head screw driver, to pry the staples up, and some pliers, to pull the staples out.  Basically I worked on one chair at a time so it took me about five days to do all six chairs – in between cooking, cleaning, laundry, carpool, band events in the evening and general life!

removing old staples with screw driver to get cover off

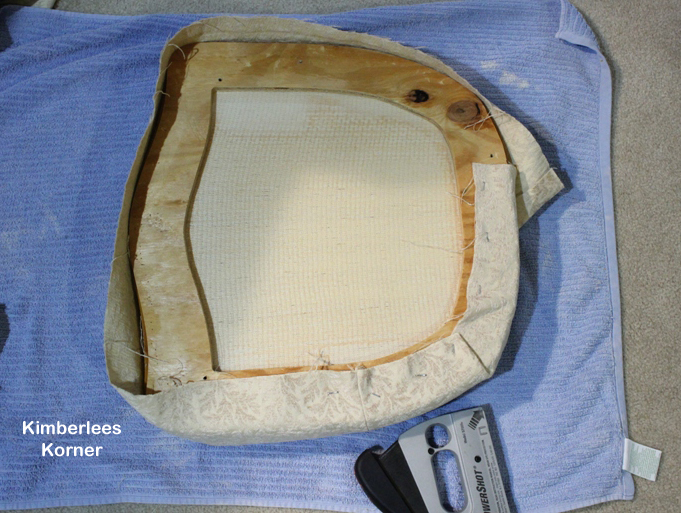
After removing all the old staples you can slide the old cover off.  Then slip on the new sewn cover and get it fitted onto the the chair pad and then begin to staple with the staple gun.  My one son even did a few staples on one chair – he thought it looked like fun for a few minutes.  Actually stapling the new cover back on was a lot more fun and easier than getting that old one off.  I did this on the floor with an old towel laid down – I also did a couple of them on my sewing table – basically you need a hard firm surface to be behind the chair pad as you drive the new staples in.  As you can see on the corners you have to fold the fabric in to get it to be smooth on the sides and the top front piece.

stapling new cover onto chair pad

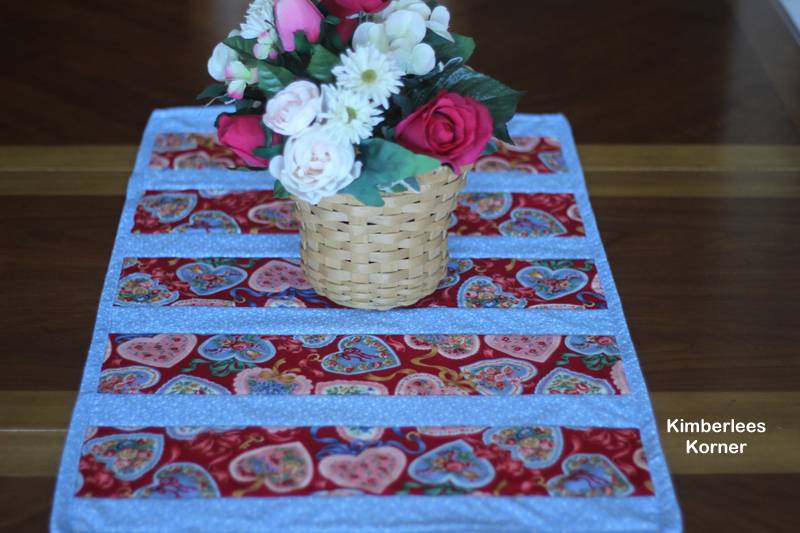
Overall I am pleased with how they turned out and how our dining room now looks.  The other table we had was over 20 years old.  We bought it when we first got married and it was more of a kitchen type table not really for a formal dining room.

new chair cover completed

chairs and table after reupholstering chairs

So, now that I have accomplished recovering dining room chairs I am contemplating reupholstering a chair and ottoman we have in our living room.  If I  decide to conquer it I will share it here on the blog so be sure to check back or follow me.

Have a great day!

-Kimberlee

Sewing A Quilt As You Go Table Runner

4 Comments

Sewing a quilt as you go table runner is a very easy project that can be made in just a few hours.  I recently made this little table runner to go on our new-used dining room table that we bought a couple of weeks ago at B & B Consignment Store in Plano, TX.   quilt as you go Valentines Day table runner

This project was made using fabrics from my stash that I have probably had for at least five years (or more).  At least I was able to use up some fabric, create something I like and I didn’t have to buy anything to make it since I had everything.  The piece of batting I used for the quilt was actually a scrap piece I had laying around.

My runner measures 32 inches long by 18 inches wide but you can really customize a project like this to be whatever size you want.  Basically you cut your base-backing fabric and your batting a little larger than your actual finished size and then you cut it once you are through sewing on the strips and before doing your binding.

To make this particular size you need about a yard of one cotton fabric and half a yard of a coordinating print for the contrasting strips and the binding.  Basically what I did was cut the heart fabric I had 4 1/2 inches wide because I wanted the print, which was kind of large, to show up and then I cut the contrasting fabric 2 1/2 inches wide for the strips as well as the binding.

close up of fabric strips on quilt as you go table runner

You then begin by laying your fabric backing piece down with the wrong side facing up then lay the batting on top of that.  Then find your center point and center one of the 4 1/2 inch strips there and lay a 2 1/2 inch strip on top of that and sew it with a 1/4 inch seam – I use a walking foot which I recommend so the pieces do not shift.

laying strips on batting for quilt as you go method


sewing strips with a walking foot to batting and backing of quilt

I just continued to alternate my 4 1/2 inch and 2 1/2 inch strips until I got to the one end then I did the same to the other end – ending with a 2 1/2 inch strip on each end.   NOTE:  After you sew each strip you will need to press them open so the right sides are facing up before sewing the next strip.

Then when both ends are done you will trim the excess batting and backing.  It is best to do this with a rotary cutter and a quilt ruler.trimming the excess batting and backing from the quilt

After this step you are ready to bind the quilt.  I used three 2 1/2 inch strips sewn together to make a very long strip – I then pressed it in half to be 1 1/4 inch with the wrong sides together.  I like to sew my binding on to the wrong side and then wrap it around, press it and sew it to the right side but everyone has a different method for this it seems.

sewing binding onto quilt

Mitering the corners when sewing on the binding is always a challenge for me.  I have studied books on it and just try and do the best I can.  I figure this is for me so I don’t have to have it totally perfect.  Once the binding is sewn all the way around I then press it to the front side of the quilt, pin the corners and topstitch it down using my number 10 edge stitch foot and the needle in the far right position. You could also use a regular presser foot with possibly the inner toe of the foot as a guide.

topstitching binding to quilted table runnerI then press the quilt one more time and it is done.

quilt as you go table runner from Kimberlees Korner This table runner is super easy to make and can be made with any type of fabric combination – not just Valentine’s Day like mine.  It is also a great stash buster project if you have some fabrics laying around, like I did, that you want to use up.  table runner and roses

I will be offering the pdf pattern with step by step instructions and photos on how to sew this in my etsy shop and on craftsy in the near future.  I wanted to share it here first on my blog since I got it done a few days ago and today is Valentine’s Day.

Happy Valentines Day!

-Kimberlee

P.S.  I will also be doing a post in the next month on the new table we bought at the consignment store and how I recovered the chair seats so follow my blog to receive updates.

Simple Burlap Easter Wreath

6 Comments

This wreath idea was something I came up with after seeing all the fun and pretty spring and Easter wreaths on pinterest.  I have actually had this 4 inch roll of burlap ribbon that I got at Hobby Lobby a couple of months ago and it was time to use it for something.

Burlap Easter Wreath  Kimberlees Korner

This wreath is super simple and easy to make.  I think you can easily make one in 45 minutes or less.  Here is what you need to make one:

Supplies:

  • 1 wired frame wreath whatever size you choose – mine was smaller as I wanted it for the back door that we go in and out of a lot
  • 1 roll 4 inch wide burlap ribbon
  • 1 package small plastic easter eggs
  • 1 chenille stem to fasten bow
  • glue gun

Step 1:  Wrap burlap around wire wreath, overlapping edges as you go – glue at back when get to where you began to secure

Step 2:  Glue plastic eggs onto burlap in desired areas – leaving an open area where the burlap overlaps for your bow

Step 3:  Make a bow with the burlap ribbon and secure to wreath with chenille stem – do this where burlap is glued to cover

Step 4:  Glue a plastic egg in middle of bow to hide chenille stem- you could glue more than one if you wanted to

That’s it – you are done – find a place to hang your new wreath and admire it!

Note:  For hanging purposes you may not want an egg in the top center – mine is hanging a little off center because I glued one there – but it doesn’t bother me.

Burlap Easter Wreath  Kimberlees Korner

Below you can see a better view on the door of the size and how small it is.  I didn’t want a really big wreath because we go in and out this door to our patio a lot.  Also, for the purpose of storing the wreath I think this will fit in my Easter storage box that goes in the attic.

back door Easter egg wreath made with burlap  Kimberlees Korner

I hope everyone is having a great start to the second week in April.

Kimberlee

Valentines Day Mantel

6 Comments

After seeing so many pretty Valentines Day mantels on pinterest lately I decided I needed to get busy and decorate mine for the holiday.  I usually just put up my little heart fabric and button garland that I made many many years ago  (like before I had kids) and leave it at that along with my regular mantel decor.

This year after having my husband get the Valentines decorations out of the attic I decided to pull out some things to go on the mantel.  I also went to Hobby Lobby and bought this pretty flower garland.  It was not considered Valentine decor but I figured I could use it now and still use it in the Spring.Valentines Day Mantel  Kimberlees Korner

As you can see it is quite simple.  I used some candles on the ends.  One is handmade from soy, the white one, – my neighbor makes them and gave it to us as a Christmas gift.  The other is just a red Yankee candle in a large jar.   I love my little heart garland that I learned how to make so long ago from a book all about holiday fabric garlands.

Picture with words   Kimberlees Korner

The picture in the photo above is a very old frame and print I have had for almost 20 years.  This was a wedding present from one of my sister-in-laws.  I have always loved the saying in the picture “Those who love have all things.”

Valentines Day decor  www.kimberleeskorner.com/blog

The vase above is also pretty old and was a wedding gift from some friends of ours.  It is a Lenox vase.  I have not used it very much in the past since breakable things and a house of 3 sons do not mix so well.  The boys are older now though and the vase is probably safe up on the mantel, I think.

The clock that is always above our mantel was also a wedding gift from my parents.  It matches our mantel really well.  I once had a friend that was visiting ask if the previous owners of our house left the clock there for us since it matches the mantel almost perfectly.

Click on Leave a Reply and let me know what kind of decorating you do for Valentines Day.     Have a great day!

KimberleeValentines Day Mantel   Kimberlees Korner