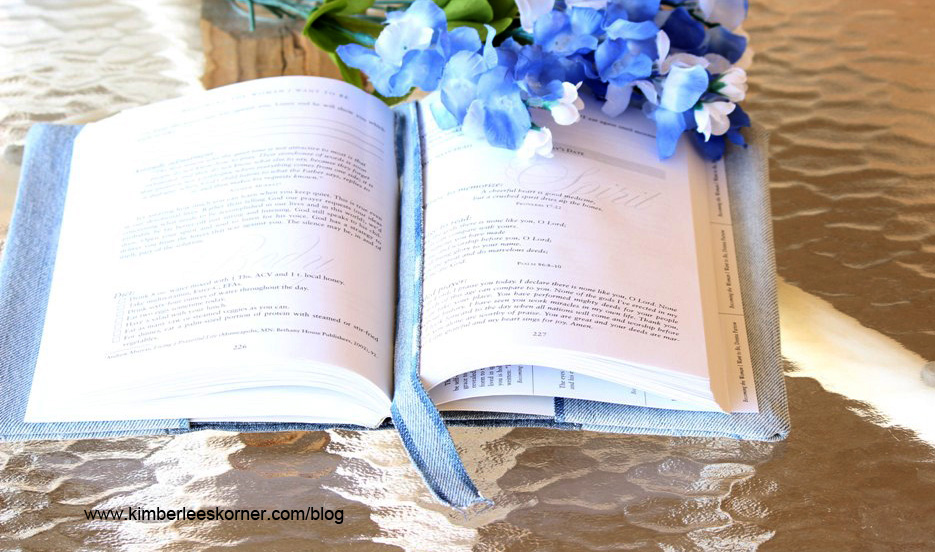
Recycled Denim Book Cover

Now that I have finally pulled out some of the old jeans that I have been saving I am really getting into making things from them. This book cover is my fourth completed project using old jeans.
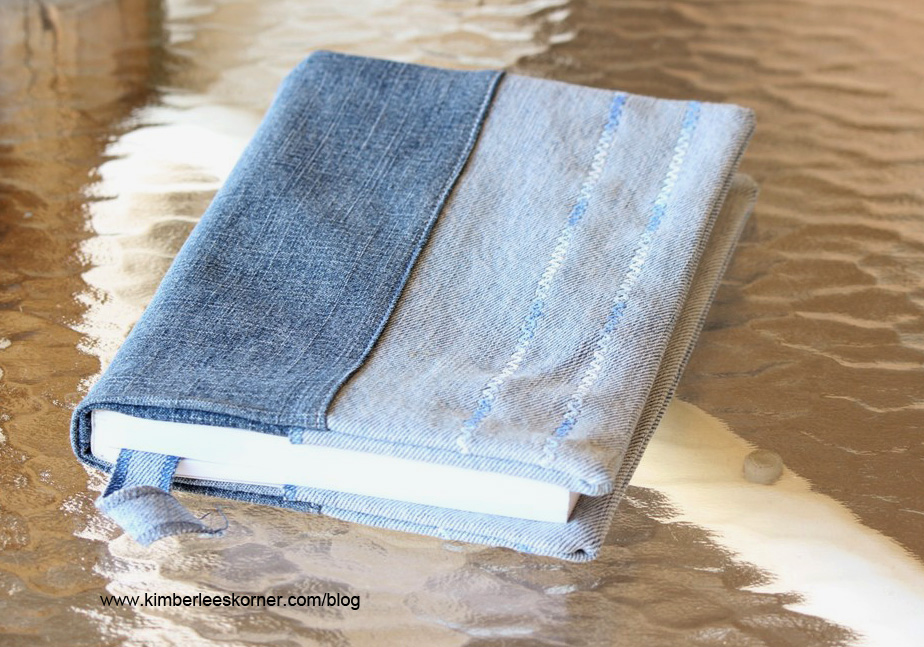
To make this project I used what was leftover from the same two pairs of jeans that I used to make my Cork Tile and Denim Project. This time I did not use the pockets but used the leftover leg pieces.
Here is how I make a book cover:
- Measure your book while it is opened – side to side for width, then measure from top to bottom for height or length
- To these 2 measurements add 1 inch to each for seam allowances (which are 1/2 inch) So, if your measurements were 13 w by 8 h you would now have 14 w x 9 l
Note: Since this project used leftover denim from another project I had to cut 3 pieces for the outer cover – those pieces vary according to what size your book is but if you figure on adding 1/2 inch to each of the 3 pieces for seam allowance it will be approx. the right size for your book.
For my book – which measured 13″ w (opened) by 9″ l here are the pieces I cut:
outer pieces – 2 pcs – 4 1/2″ w by 10″ l
1 pc – 7″ w by 10″ l
flaps – 2 pcs – 4 1/2″ w by 10″ l
back lining – 1 pc – 11″ w by 10″ l
bookmark strip – 3/4″ w by 12″ l
Note: after I finished it was a little wide – next time I would reduce the width a little probably by 1/2 inch.
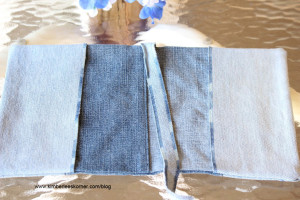
First I sewed the 3 outer pieces together with the wider piece being in the middle using a 1/2″ seam. I then pressed them to one side and topstitched those 2 seams using an edgestitch foot.
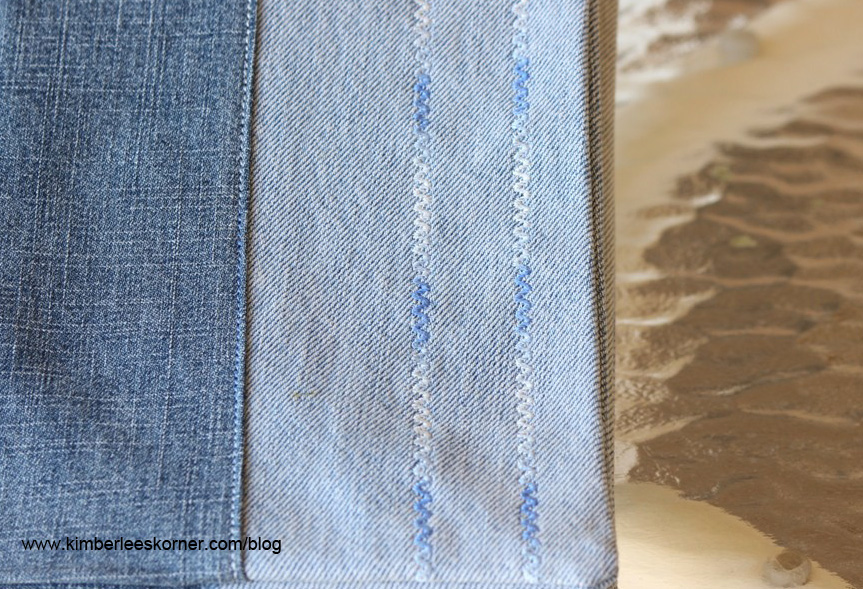
Next you sew any decorative stitch to the front however you choose – to add some color I used variegated thread. This is a fun way to use some of your decorative stitches if your machine has any or you can just use a zigzag stitch.
www.kimberleeskorner.com/blog
Then you attach the book flaps to each side right sides together sewing just the ends. I first serged the one side that will be exposed to prevent fraying or you can zigzag it or even turn it under.
Serge edges of long skinny bookmark piece or zigzag. Place the strip at top of one side in middle.
For the back lining/facing piece serge each of the sides or zigzag. Place this lining piece right sides together with outer book cover – the book flaps will be in the middle. Sew across each top and bottom piece catching the long bookmark strip in the top but not the bottom.
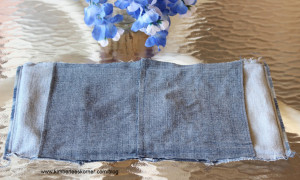 The above photo shows the back lining piece sewn over the flaps and front cover. I had to piece my back lining piece together to make it wide enough.
Clip the corners and turn right side out and press. Congratulations! – your book cover is done. How easy was that? I would love to see what yours looks like if you decide to make one. You can email me a photo or post it on my facebook page.
What sewing projects have you been working on lately? Let me know by clicking on Leave A Reply. Have a great week!

Linking up to :


This is so cute! Thank you for linking up at Sewlicious Home Decor….You’ve been Featured here…http://sewlicioushomedecor.com/show-licious-craft-showcase-50-facebook-follow/
Marti
Thanks so much Kimberlee for letting me feature your denim book cover on I’ve Got The Monday Blues, today! I love the creativity and ingenuity.
Make it a blue Monday!
Turned out great!! I wish I could sew, I’d whip things like this up and have every corner covered in prettyness!
Wonderful work 🙂
Thank you!
My Grandma used to make these and I have been looking for some instructions. Thank you for posting!
What a fun idea. I love that it is denim. This would be great for teens that throw stuff around a lot! Thanks for sharing!
Get Your Crap Together
Please join our Pattern Party It starts the 1st of each month
Yes, it does seem pretty sturdy with the denim. I have made them from cotton as well and they are not as sturdy but do wash-clean easily.