Organizing DVD’s
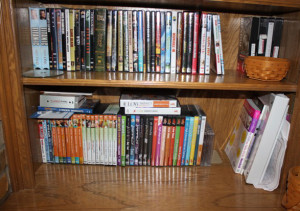
I am on an organizing mission lately. I spent most of last weekend organizing all of our DVD’s when I wasn’t keeping up with the normal daily tasks in our home. I decided I was tired of looking at 2 shelves of movies and workout DVD’s. See photo below:
After searching for organizing ideas on pinterest I made a plan.
I went to Target in search of binders and DVD binder inserts but did not find what I needed there. However I did buy 2 CD holders that each hold 48 CD’s and a smaller one that held 24 and began to organize all our music CD’s that took up a whole entertainment drawer of space. See photos below of this project:

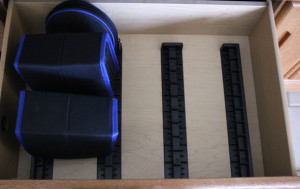 CD’s organized into 3 zippered cases that used to take up this whole drawer
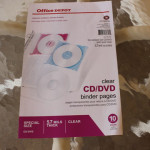
I ended up finding the supplies I needed at Office Depot. They had a couple varieties of DVD-CD inserts and I decided on this style so I could organize them in 3 ring binders.
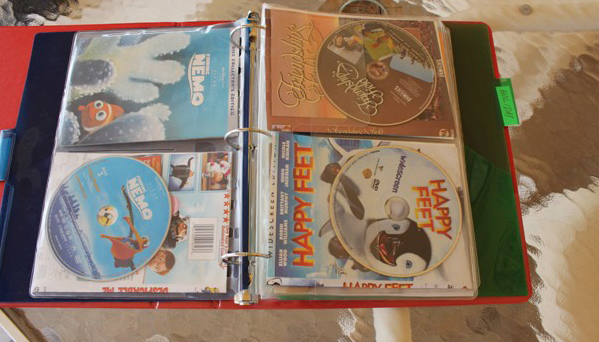
So, this is my end result after my project was done:
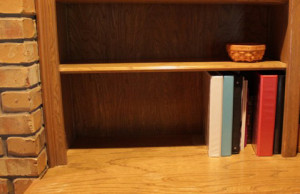
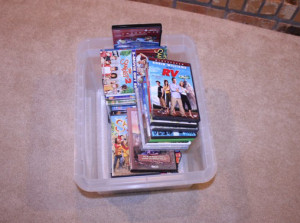
I was able to get 2 shelves, that were 32 inches long, into 3 binders. The photo of the one binder is of my yoga information in the photo above. Also, included in the binders were a few other movies we had in our other entertainment center – the one with the CD’s – they are shown in the plastic bin in the photo below.
I organized the DVD’s into categories like Family, Holiday, Fitness and made divider tabs for the categories. I then alphabetized the DVD’s so we can find them easily. I decided to save the DVD cover inserts so I would know the rating and movie summary but you don’t have to do that if you don’t want to. If you choose to do that option you will have to trim the DVD insert paper to fit into the page protector insert.
Before you begin this project a word of advice – count all of your DVD’s and figure out how many DVD page inserts you need. They come in a package of 10 and hold 2 to 4 movies per page. I did not count all of our movies and ended up making a couple of trips to the store.
Supplies needed for project:
- 1 or 1 1/2 in. 3 ring binders (I needed 3 binders for all of my DVD’s)
- DVD clear plastic inserts for binders
- Tab dividers – (optional)
- Scissors
- Time – this took me approx. 3 days but I only worked on it for about 1 to 2 hours each day – note: time did not include trips to store
I am so happy with the way my binders turned out and how much cleaner and neater the shelves look.
I hope you enjoyed this post – please follow me via RSS feed by clicking the icon in the sidebar or through bloglovin to read future posts.