Tag: summer sewing

Red Polka Dot Bathing Suit

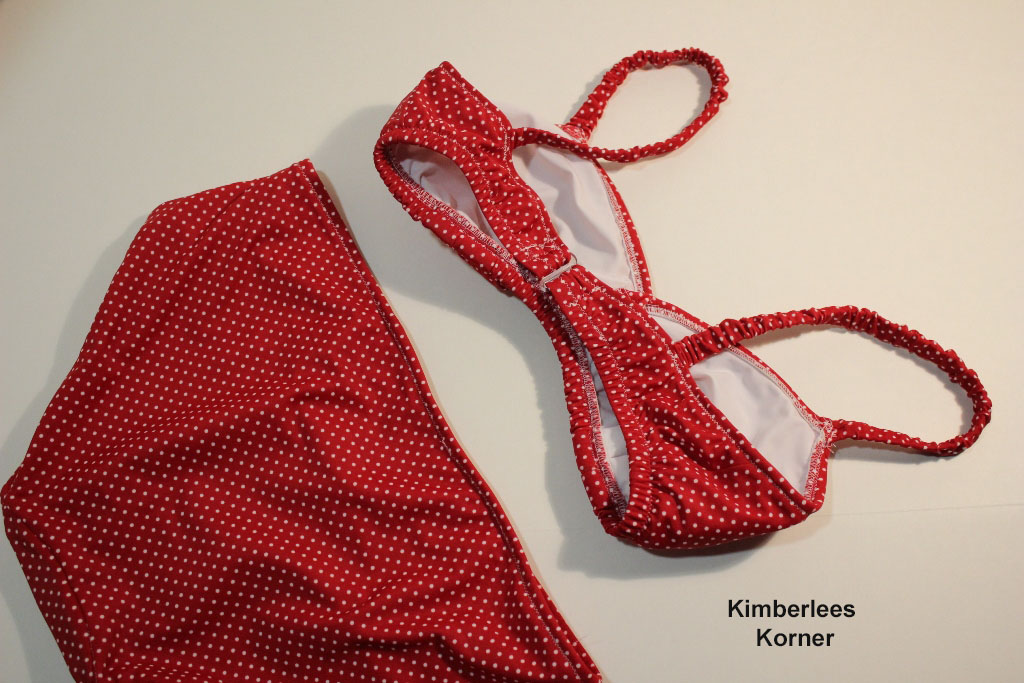
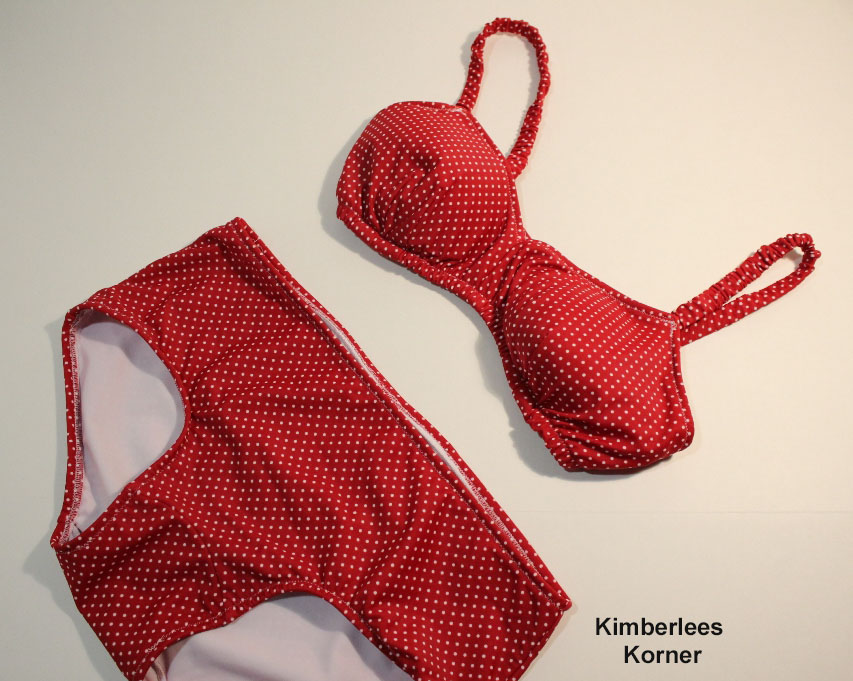
I recently finished sewing this red polka dot bathing suit.  This is one of the many sewing projects I wanted to complete this summer.   red polka dot bathing suit made by Kimberlee
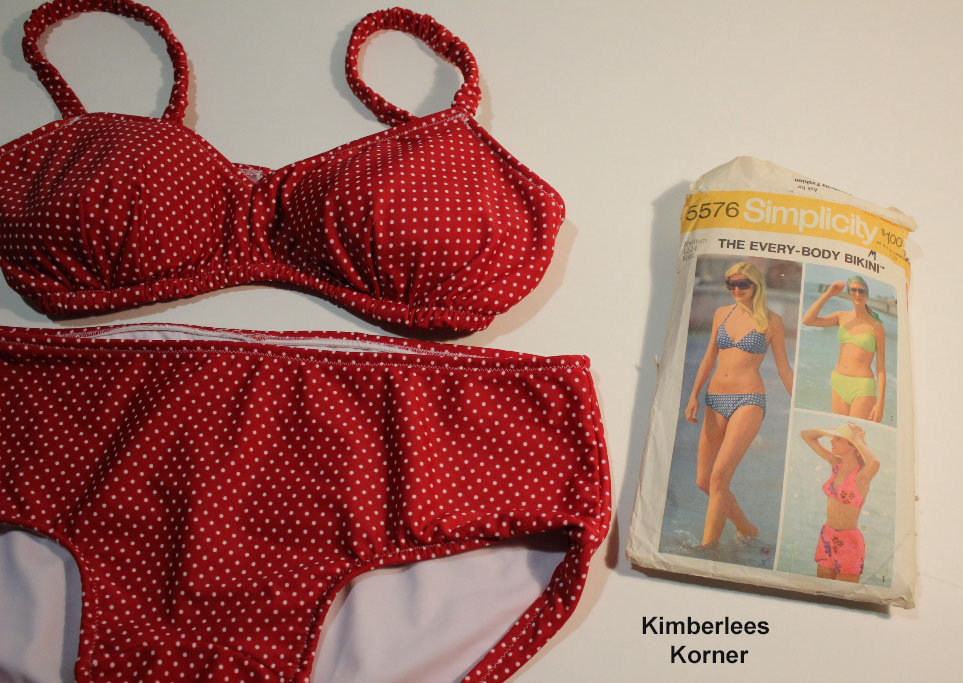
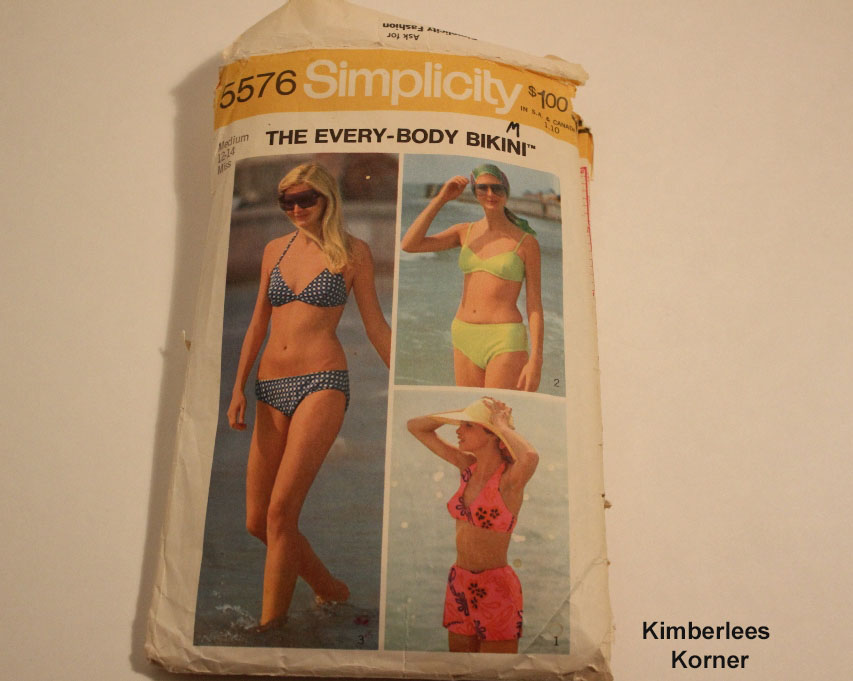
The pattern I used to make this bathing suit is a vintage pattern that I bought last summer from an Etsy seller.  If you go on Etsy and type in the search “bathing suit pattern” you can find lots of sellers that have patterns.  It seems like it is hard to find a pattern in the store these days – I guess it is not popular to sew your own bathing suit anymore.  I actually prefer to sew my own bathing suit as I can get the fit the way I want it.  I will admit sometimes you have to make the pattern a couple of times before it is exactly how you want it but the result is worth it – a good fit and a bathing suit that will last for several years, most likely.

vintage sewing pattern for bathing suit - Kimberlees Korner

The pattern was made back in 1973 according to the pattern information.  As you can see it was only a dollar back then.  I think I paid around $6 or $8 for it on Etsy.  I have made version 2, in the right hand corner, three times now.  I made one last summer and had to make a few adjustments to it and I made two this summer.  I recently finished a turquoise bathing suit in addition to the red polka dot bathing suit.

The fabric I bought for this bathing suit was from Spandex World.  I also bought it last year at the end of summer so it was on clearance.  The fabric I used for the lining was panty spandex from Sew Sassy.  I think it only cost me about $15 to $20 to make this red polka dot bathing suit and that includes the elastic and back closure.

red polka dot bathing suit back view - Kimberlees Korner

Some tips for sewing your own bathing suit:

  • Use decent quality swimwear fabric and purchase a little extra in case you need to make another top or bottom with adjustments to your pattern
  • Be familiar with sewing on stretchy fabrics that have spandex or lycra in them
  • Line the top and the bottom for best results – you can use swimwear lining or panty spandex
  • Use a stretch sewing machine needle size 75/11
  • Use a narrow zigzag stitch for topstitching the elastic as it will stretch more

Places to order supplies for making your own bathing suit:

  • Spandex World – lots of swimwear fabric at reasonable prices
  • Etsy – for swimwear fabric and bathing suit patterns, also the back closures
  • Sew Sassy – good quality elastic that is reasonably priced, plastic back closures, swimwear lining and thin foam cup inserts for the top

red polka dot bathing suit made by Kimberlee

What sewing projects have you been working on lately?  Let me know in the comments.

– Kimberlee
Sewing Summer Tops

8 Comments

Recently I have taken a little break from blogging.  One of the reasons being that I was gone for 10 days in July on a family vacation.   I have also been focusing on some other things during my break from blogging and one of them is sewing some new things for summer.  This summer I have made a couple of bathing suits, some lingerie  (posts to come on that later)  and some new summer tops.  In addition to sewing I have been doing a lot of crocheting and developing some new patterns.

One of the reasons I love to sew is that I enjoy being able to make something the way I want it to fit.  Another reason I prefer to sew my own clothing over buying it is because I can make something that will last a lot longer and wear better than many things you buy at the store.  I have some shirts in my wardrobe that I made probably 8 or 10 years ago that are classic styles that I still wear and they are still in good condition.  I don’t know if I have many articles of clothing that I have bought that I can say that about.

Summer Sewing Navy Top

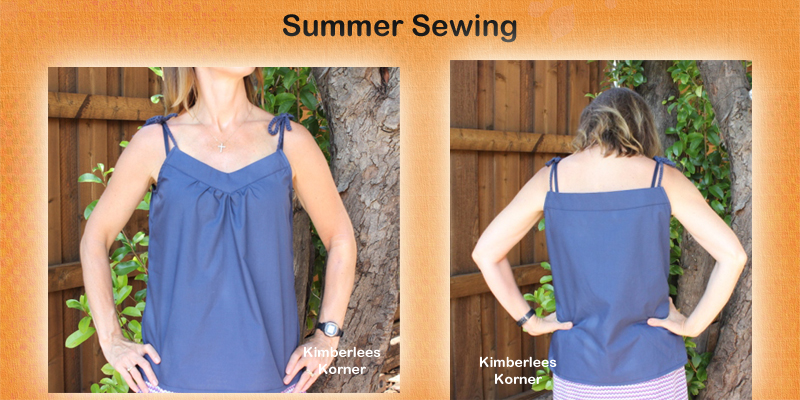
The above top is one I made about a month ago and have already wore it several times.  It is perfect for our hot Texas weather in July and August.  This top is made from a pattern I have had since 2010.  The pattern is New Look 6965 and it has four or five different tops in the same pattern.  I have made a couple of the other versions in the pattern in the past.  This particular top features a tie shoulder strap that was suppose to be made with ribbon.  I decided to use my crochet skills and crochet the straps since I had the perfect color of navy blue cotton yarn to match the fabric.

Summer Sewing McCalls Top

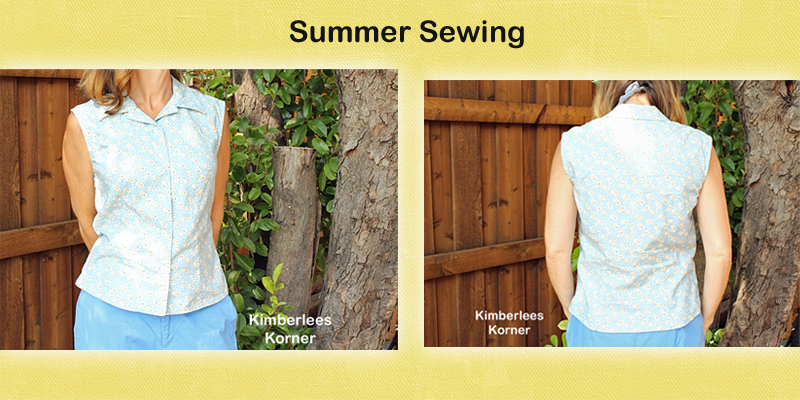
The next top I made after the navy one was this light blue floral print button down shirt with a collar.  It is hard to see the tiny floral print on the fabric in the lighting I was in in the above photos.  I think I have had the fabric for four or five years and the pattern is very old – a classic from my pattern stash McCalls 2094 from 1999.  I like the style of this top with the front and back darts and the button front.  I have a couple of pairs of shorts and a couple of skirts it will go with so lots of options for wearing this shirt.  I even discovered a crochet headband I made years ago that is the same color blue.

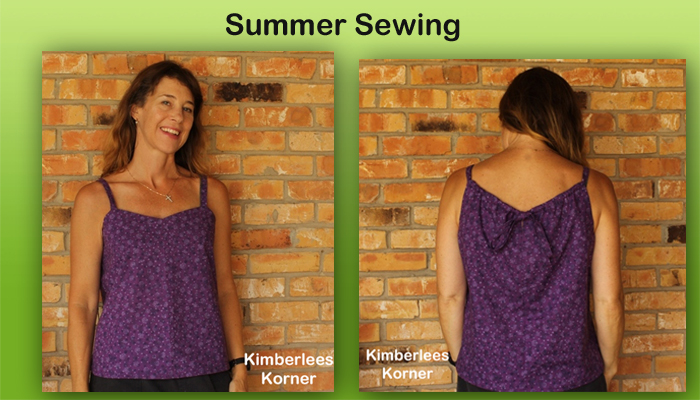
Summer Sewing Purple Top

The third top I made was this purple print one.  This is another fabric I have had in my stash for years.  This top was made using a newer pattern that I purchased on sale at Hancocks a few weeks ago.  The pattern is McCalls 6967 and included in the pattern with this cute little top is a couple of dresses and a skirt.  This was a really simple pattern to sew and I will probably go through my stash and make another one – it only takes one yard of fabric and a couple of hours to make this top.

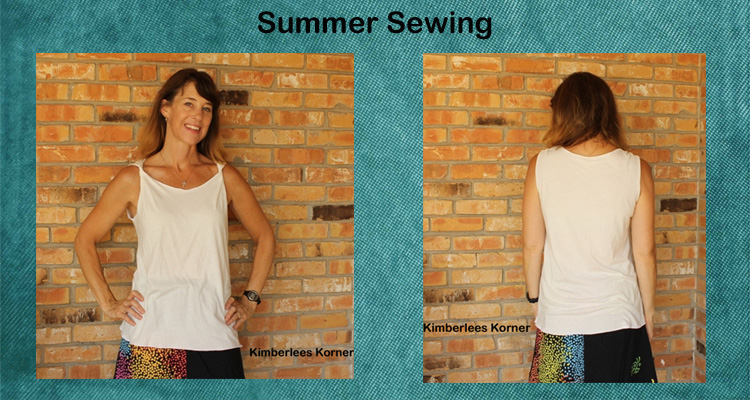
Summer Sewing Cream Twist Top

The last top I recently finished sewing was this simple knit twisted shoulder top.  This pattern was actually my own creation using a pattern from My Label pattern software and figuring out how to do the twisted shoulder.  The whole top is made with a serger and super simple.  In my etsy shop I offer a tutorial on how to make a top like this using an old t shirt.  This particular one I actually used fabric and a pattern drafted to my measurements.

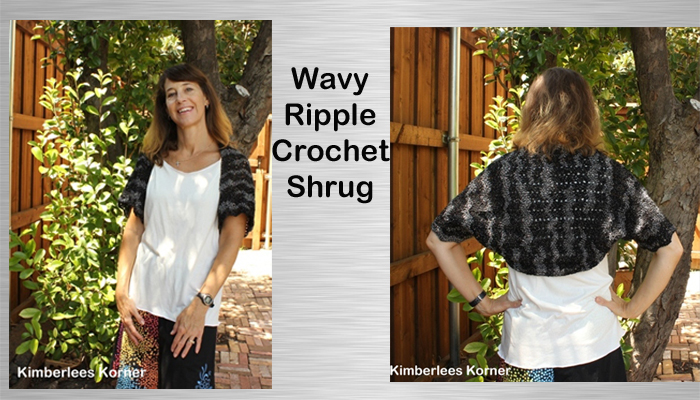
Wavy Ripple Crochet Shrug

The other thing I finished in the past week was this crochet shrug – which I thought looked good with my twisted tank top and a skirt that I made a few years ago.  The shrug is one I started a year ago and put it aside to work on other things.  I decided it was time to get it finished and completed it.  I love the way it turned out and wonder why I waited to long to get it done.  This shrug is crocheted using Patons Glam yarn and is black and glitter sliver.  The pattern features a ripple and pretty scalloped sleeve.  I will be offering the pattern in my etsy shop very soon as well as on craftsy and ravelry.

School is starting here soon for my boys and we have been busy with the back to school yearly things that go with that.  Even though there is another month or more left of summer it kind of feels like summer is ending once the kids start school – I am hoping that means the heat will end as well but I have a feeling it will be another month or more before that happens.

I hope everyone is enjoying their summer and staying cool.

-Kimberlee

Sewing – Bathing Suit Top Redo

4 Comments

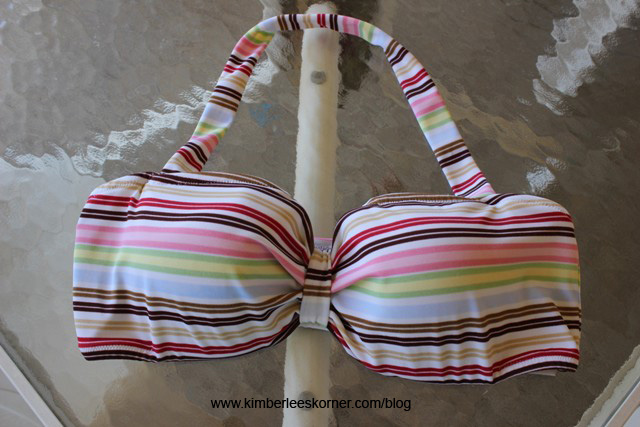
I made this bathing suit top a year ago using McCalls 3566 pattern.  I have had the pattern several years so I am not sure if it is still current.  It was simple to make but I never wore it due to the fact it needed more support.  I had tried various bra inserts you buy at JoAnns or Hancock Fabrics but none of them seemed to work out well.  So, the top got set aside in a sewing to-do pile meaning I intended to figure out a way to fix it one day.

Then, about a month or two ago I was on pinterest – doing some daily pinning – and found this pin on making a bathing suit top from a bra.  It was intriguing to me and also something I had considered doing before and even had set aside a couple of older bras with the bathing suit top I had made.  I had just not had the proper motivation to fix my top until I saw this on pinterest.  Of course I pinned it to my sewing board and also immediately went to the site to see how to make this work.

So finally, a few weeks ago, I got my project out and went to work with my sewing machine.  This is what it looks like finished:

bathing suit top front view     www.kimberleeskorner.com/blog
bathing suit top front view www.kimberleeskorner.com/blog

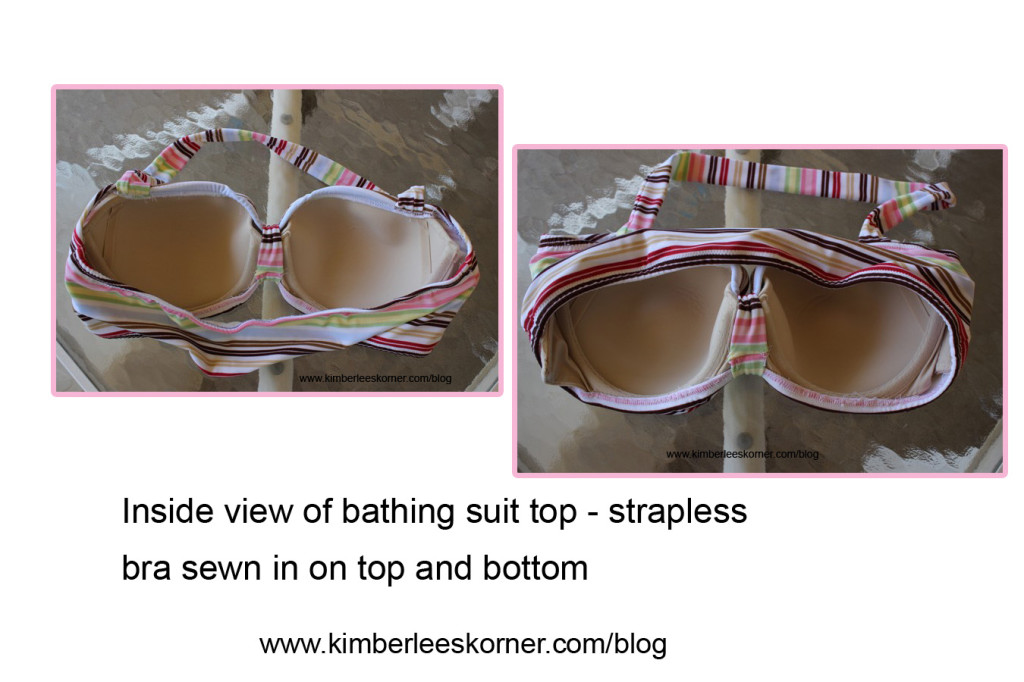
Since I was working with an already made bathing suit top I had to rip out some of the top stitching.  I hate having to do that because it is a pain but it had to be done.  I had an old strapless bra that I had kind of wore out in the back but it worked great for this project.  I cut it off at the side seams – figured out where the center of the bathing suit top was and centered the bra in there.  I had to do lots of pinning and stretch the top elastic area over when I sewed it in.  I used a narrow zigzag stitch to sew the top elastic casing area to the top of the bra.   The bottom area I stitched mainly by hand to the underwire area – wrapping the elastic area that I ripped out over the under wire bra.

inside view of how bra was sewn in to the top and bottom of the existing bathing suit top for support    www.kimberleeskorner.com
inside view of how bra was sewn in to the top and bottom of the existing bathing suit top for support www.kimberleeskorner.com

I had a little of this fabric left so I made a 3 to 4 inch long tube about 2 inches wide and sewed it right sides together then turned it right side out.  I wrapped this piece over the center of the bra-top to create the cute gathered front area.  I stitched this down and tacked it to the bra by hand.

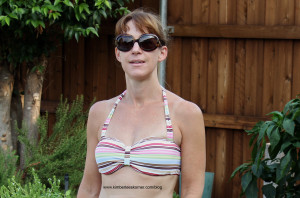
I am so pleased with how this turned out and glad I finally have a top to wear with the bottoms that fits well and has support.  The first time I wore it my husband asked “Where did you get that bathing suit?”  I told him I made it and he seemed impressed.  The photo below is of me wearing it – this is after I have been swimming in it and done my water workout.   It held up just fine in the water.

photo of me wearing my new bathing suit top

So, what sewing projects have you done lately?  Let me know by leaving a reply.

Also, if you would like to receive future posts and updates please subscribe via bloglovin, email or RSS by clicking on one of the icons in the side bar.  You can also find me on facebook – Kimberlees Korner   Have a great day!


Summer Sewing – Shorts

3 Comments

Recently I decided I needed to get rid of a few old pairs of shorts so that gave me a reason to sew up some new ones.  I made these shorts using the Bernina My Label program.  It is a pattern drafting program based on your measurements.  The patterns fit pretty well for the most part but I have had to tweak some things on them.  For example, on these shorts I had to add some to the crotch area – a crotch extension – on the back side or they tended to pull in the back and I hated that.

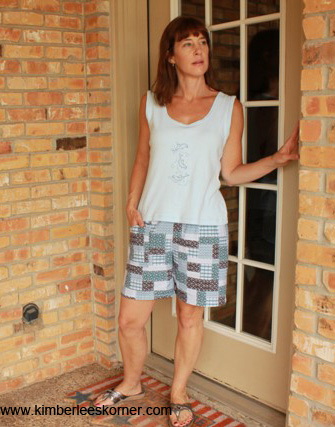
shorts made by Kimberlee from Kimberlees Korner with Bernina My Label program

The printed shorts above were the first ones I made to test out the pattern since I had only used it once before.  At the time I didn’t have enough solid color fabric to make any shorts and decided this cotton print would be okay to just wear around the house or on the weekend.  I also added one pocket on the side of these using a pocket pattern from another book I have on skirts called Sew Serendipity by Kay Whitt.  I have not made anything from the book yet, just used this pocket pattern on my shorts since I liked the style.  I only put one because I wanted to see how it looked and if I liked the style.

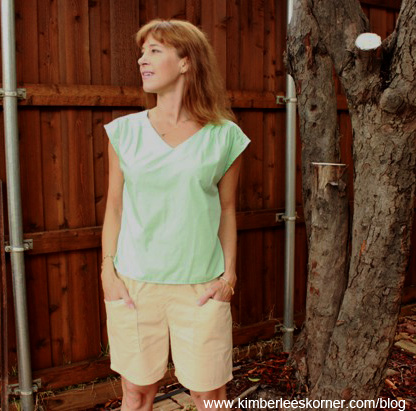
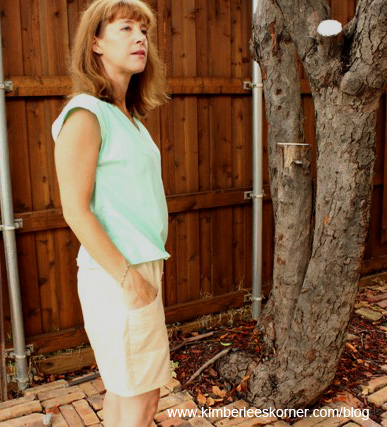
tan shorts with pockets made by Kimberlee from Kimberlees Korner
tan shorts sewn by Kimberlee from Kimberlees Korner

The tan pair I made using a lightweight cotton fabric.  I decided to sew the pockets on both sides of this pair.  I have already gotten a lot of wear out of these in just the last couple of weeks since finishing them.

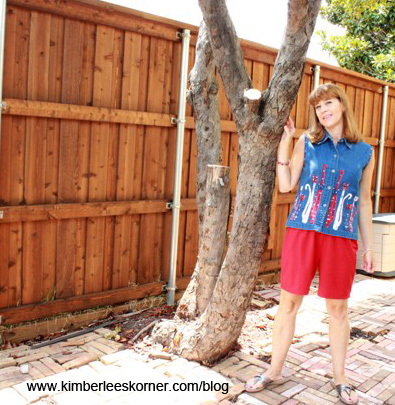
red shorts made by Kimberlee with Bernina My Label program

The red pair of shorts I made with stretch twill fabric I bought at Hobby Lobby.  The fabric has a nice drape and is easy to wear.  It is a bit stretchy and requires a little patience when working with it as it will stretch as you sew if you pull it – kind of like working with knits.  I decided to not do any pockets on these as I figured with the stretch factor they might not look too good.  I also just finished another pair in this same fabric yesterday in the sky blue color.

Overall these shorts turned out well and I like how they fit me.  They sew up very quickly with an elastic waist band so they are a pull on type of short.  For the types of fabrics I used I thought this style was the best choice and often an elastic waistband is much more comfortable than a traditional waistband with a zipper, in my opinion.  Also, depending on the type of shirt or top you wear I think this style of short can be more slimming if you have a good fit.

I think I am all set with shorts now and ready to move on to some other projects.  Thanks for visiting my blog.  To receive regular updates please subscribe via bloglovin, email, or RSS feed in the sidebar.  Have a great day!