Sewing A Quilt As You Go Table Runner
Sewing a quilt as you go table runner is a very easy project that can be made in just a few hours. I recently made this little table runner to go on our new-used dining room table that we bought a couple of weeks ago at B & B Consignment Store in Plano, TX. 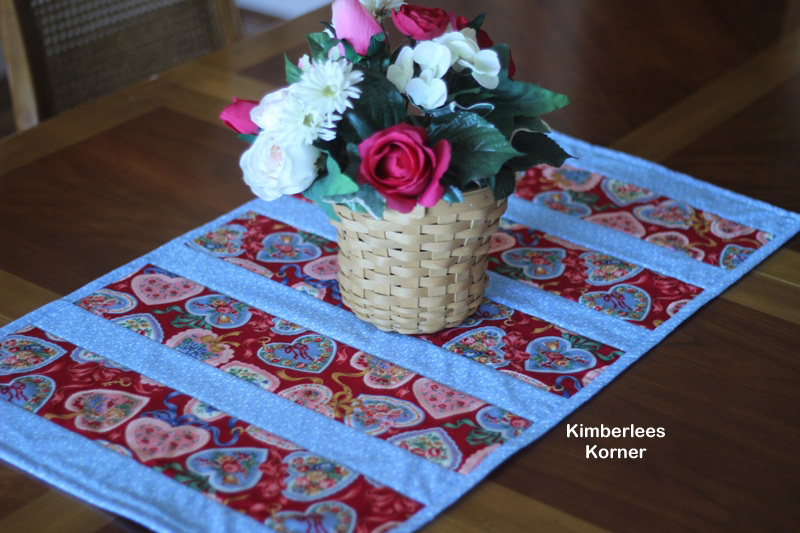
This project was made using fabrics from my stash that I have probably had for at least five years (or more). At least I was able to use up some fabric, create something I like and I didn’t have to buy anything to make it since I had everything. The piece of batting I used for the quilt was actually a scrap piece I had laying around.
My runner measures 32 inches long by 18 inches wide but you can really customize a project like this to be whatever size you want. Basically you cut your base-backing fabric and your batting a little larger than your actual finished size and then you cut it once you are through sewing on the strips and before doing your binding.
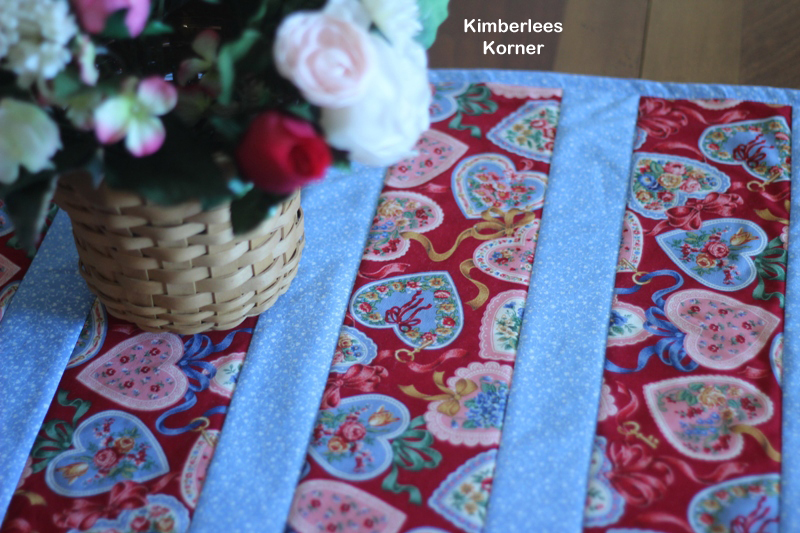
To make this particular size you need about a yard of one cotton fabric and half a yard of a coordinating print for the contrasting strips and the binding. Basically what I did was cut the heart fabric I had 4 1/2 inches wide because I wanted the print, which was kind of large, to show up and then I cut the contrasting fabric 2 1/2 inches wide for the strips as well as the binding.
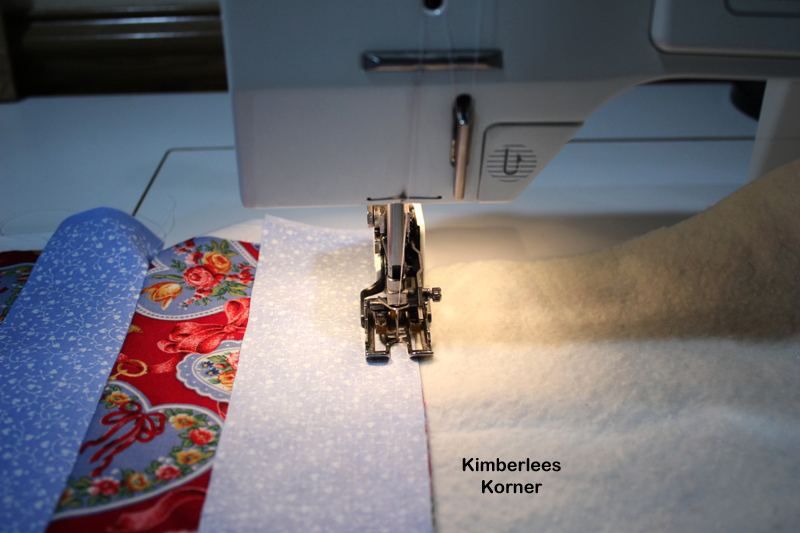
You then begin by laying your fabric backing piece down with the wrong side facing up then lay the batting on top of that. Then find your center point and center one of the 4 1/2 inch strips there and lay a 2 1/2 inch strip on top of that and sew it with a 1/4 inch seam – I use a walking foot which I recommend so the pieces do not shift.
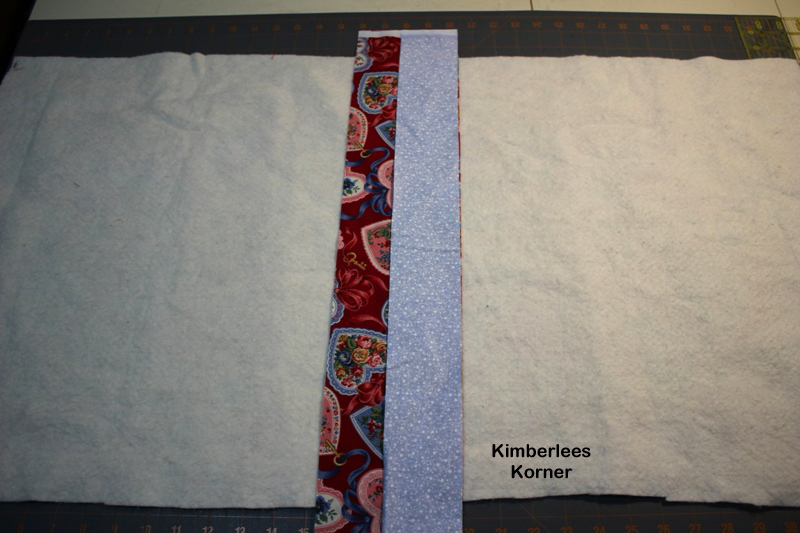
I just continued to alternate my 4 1/2 inch and 2 1/2 inch strips until I got to the one end then I did the same to the other end – ending with a 2 1/2 inch strip on each end. NOTE: After you sew each strip you will need to press them open so the right sides are facing up before sewing the next strip.
Then when both ends are done you will trim the excess batting and backing. It is best to do this with a rotary cutter and a quilt ruler.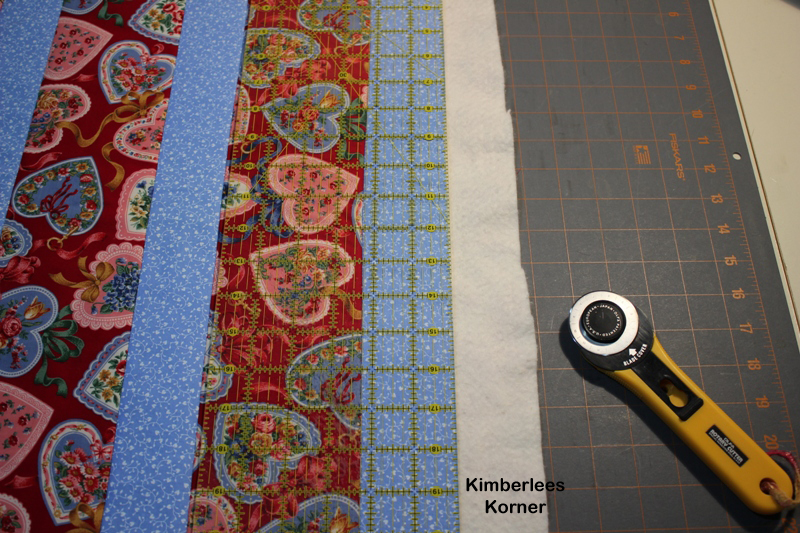
After this step you are ready to bind the quilt. I used three 2 1/2 inch strips sewn together to make a very long strip – I then pressed it in half to be 1 1/4 inch with the wrong sides together. I like to sew my binding on to the wrong side and then wrap it around, press it and sew it to the right side but everyone has a different method for this it seems.
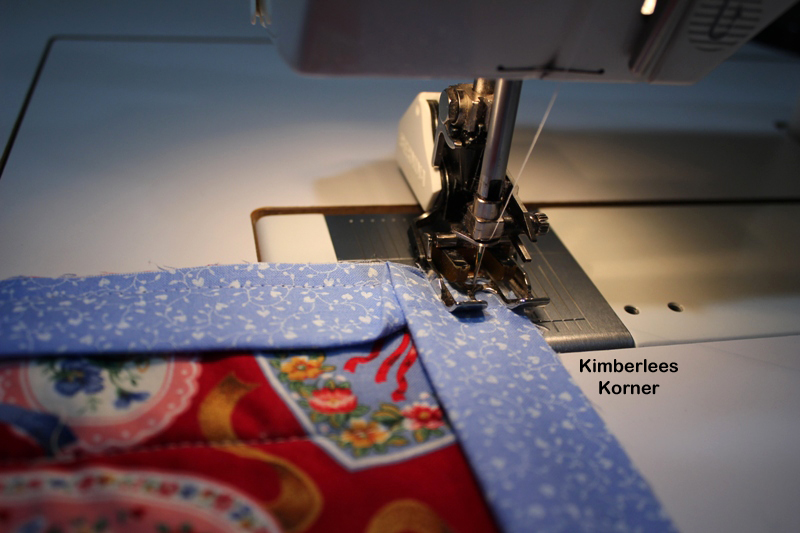
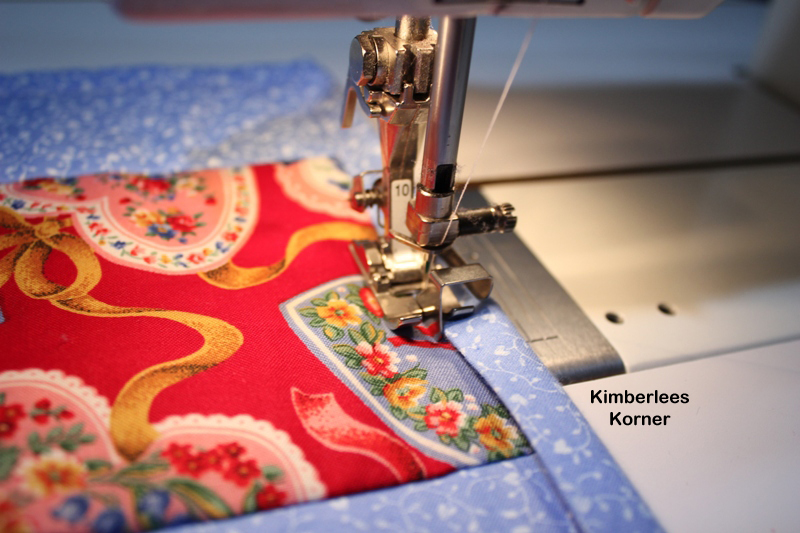
Mitering the corners when sewing on the binding is always a challenge for me. I have studied books on it and just try and do the best I can. I figure this is for me so I don’t have to have it totally perfect. Once the binding is sewn all the way around I then press it to the front side of the quilt, pin the corners and topstitch it down using my number 10 edge stitch foot and the needle in the far right position. You could also use a regular presser foot with possibly the inner toe of the foot as a guide.
 I then press the quilt one more time and it is done.
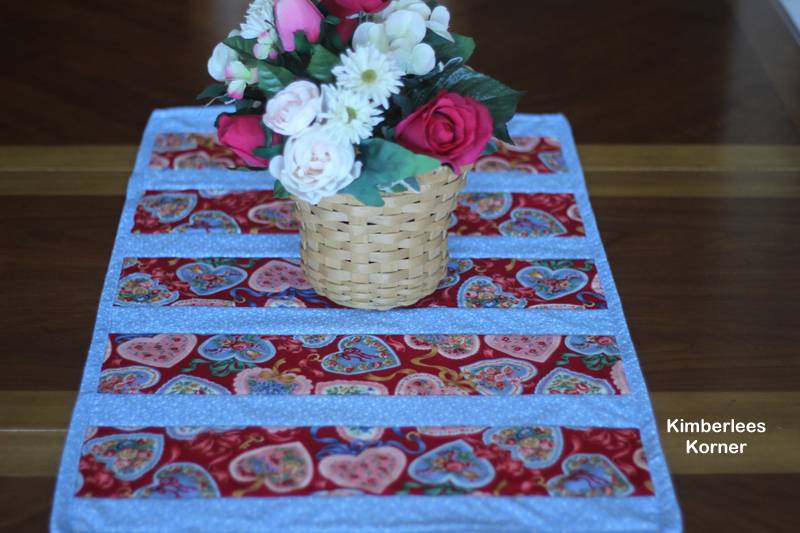 This table runner is super easy to make and can be made with any type of fabric combination – not just Valentine’s Day like mine. It is also a great stash buster project if you have some fabrics laying around, like I did, that you want to use up.
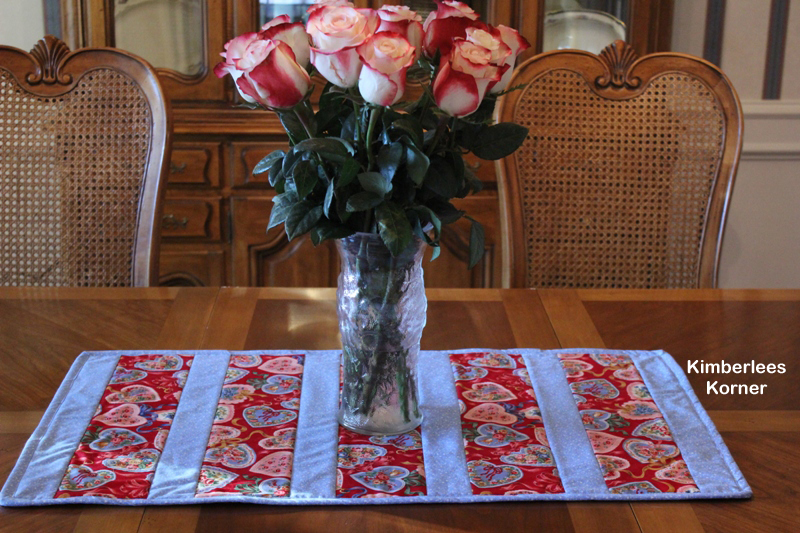
I will be offering the pdf pattern with step by step instructions and photos on how to sew this in my etsy shop and on craftsy in the near future. I wanted to share it here first on my blog since I got it done a few days ago and today is Valentine’s Day.
Happy Valentines Day!
-Kimberlee
P.S. I will also be doing a post in the next month on the new table we bought at the consignment store and how I recovered the chair seats so follow my blog to receive updates.