Lettuce Storage Method

I recently read this blog post on Blissful and Domestic about buying your produce for the month then storing it wisely so it will last. After reading this I decided I needed to get better about storing my produce to make it last longer.
I remembered how I used in the past this lettuce cleaning and storage method I learned about from a book I read a couple of years ago. The book is called More Hours In My Day by Emilie Barnes and Sheri Torelli. It is a great book with lots of helpful ideas for anyone who wants to improve their home and family organization.
Okay – on to the lettuce information – to keep your lettuce fresh for a week or longer you will follow this procedure:
- wash all lettuce
- dry lettuce on towels – blot with another towel
- place lettuce in mesh laundry-lingerie bag
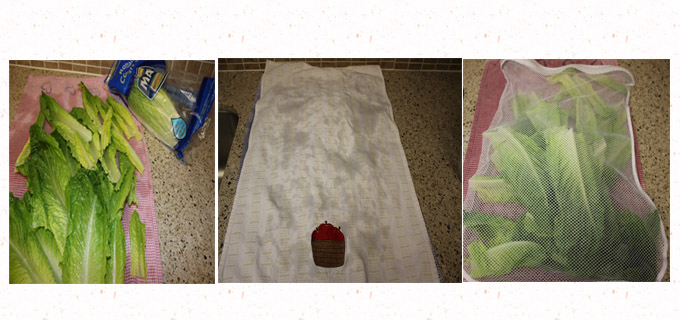
Photos of lettuce washed, dried and placed in mesh laundry bag - put lettuce in empty washing machine – Yes, your washing machine!
- Select the spin cycle (mine says drain & spin) – usually this is at the end of the cycle
- let the drain and spin cycle run its course
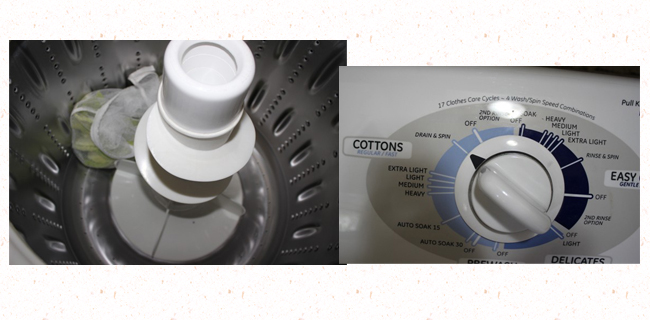
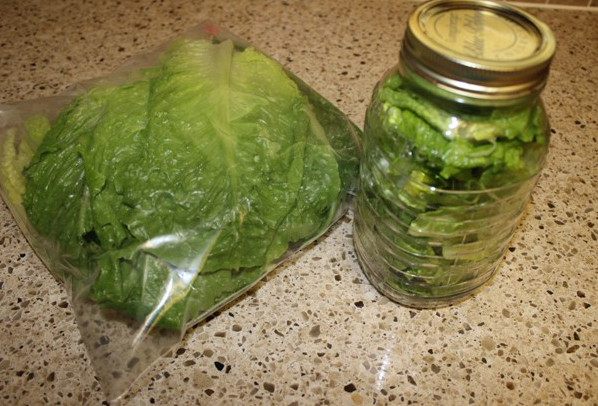
Lettuce in mesh laundry bag placed in washing machine – then run spin cycle to remove all excess water - remove lettuce and store in large ziploc storage bags or in mason jar
- place in your refrigerator
I can keep lettuce fresh for at least 7 to 10 days using this method. It takes approximately 15 to 20 minutes to prep everything for this method but then all your lettuce is all clean, fresh and crisp – ready for any salad or sandwich. I seem to eat a lot more salads in the summer so it is nice to have lettuce that is ready to use. I usually process a whole bag of 3 romaine hearts and some red or green leaf artisan lettuce so I have a variety available in the refrigerator. Note: I have not yet tried this method using the washing machine with iceberg lettuce. I don’t buy that type of lettuce that frequently.
I you like this post please follow me via RSS feed by clicking on the icon on the sidebar or through bloglovin.