This is the completion of the 9th week of Focus T25 for my challenge group. WOW! I can not believe next week is our last week. I am kind of sad it is ending but I am also looking forward to starting a new workout program that I will be receiving in the mail next week.
Below are some of the photos from the past week of workouts:
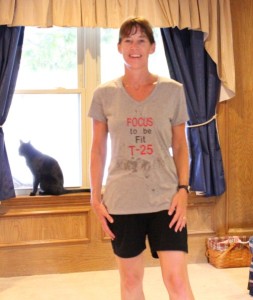
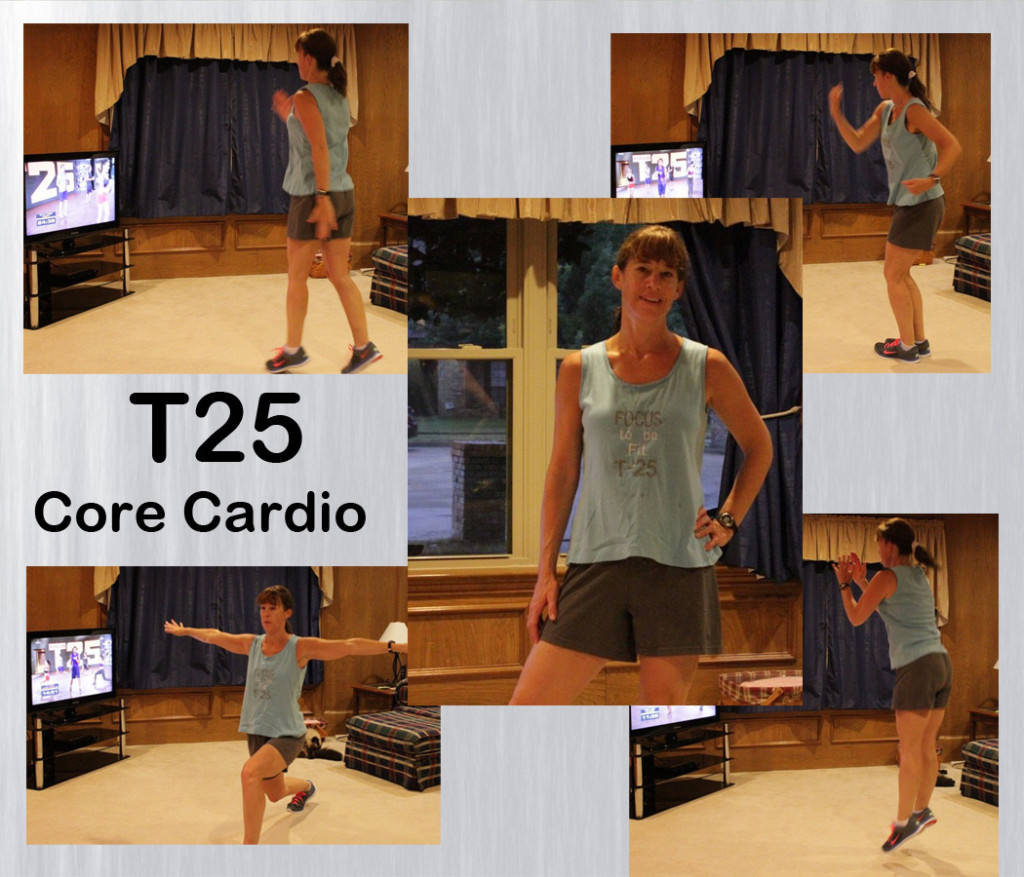
Another embroidered workout shirt – “Focus to be Fit” by Kimberlee from Kimberlees Korner
I also created some new smoothie recipes this week. Below are the recipes. My favorite of the three is probably the Tropical Goji Protein Smoothie.
[amd-zlrecipe-recipe:5]
[amd-zlrecipe-recipe:6]
[amd-zlrecipe-recipe:7]
I hope everyone has had a great week of working out. I would love to hear about what program you are currently doing. Please click on Leave a Reply and let me know.
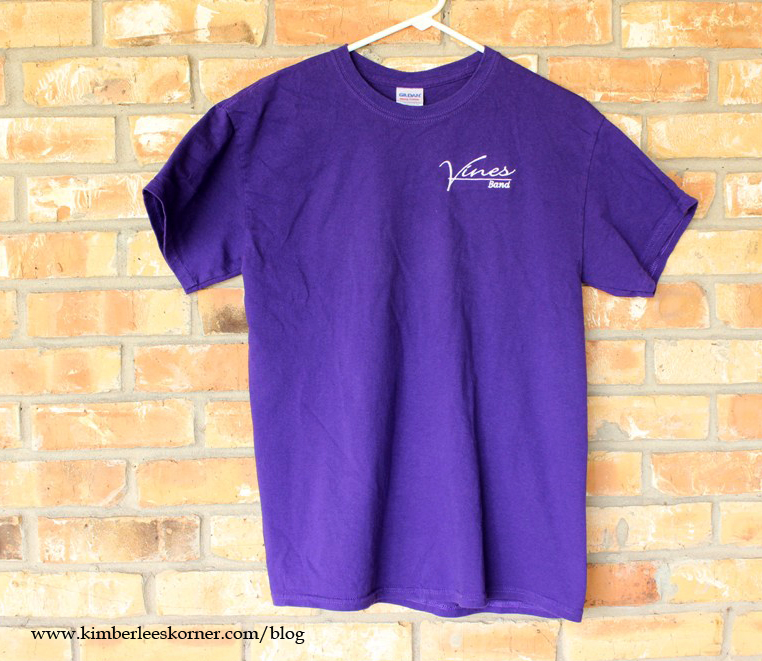
I recently did a makeover to this basic T-shirt. I tried to wear it the original way but the neck felt too constricting and I wanted this purple T-shirt (for my sons high school marching band) to have a more feminine touch. So, out come the scissors and sewing machine and some creativity!
BEFORE PHOTO:
purple t-shirt for my sons marching band Kimberlees Korner
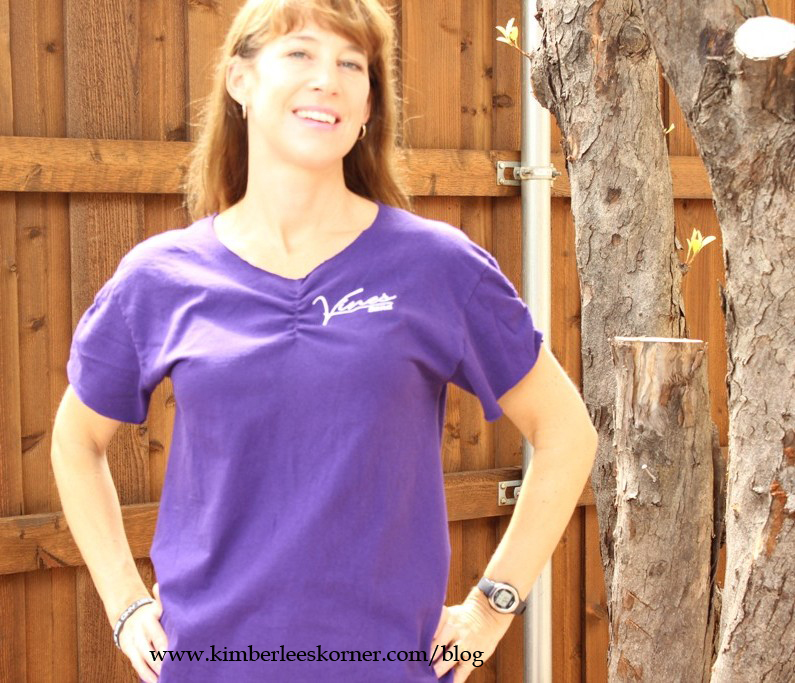
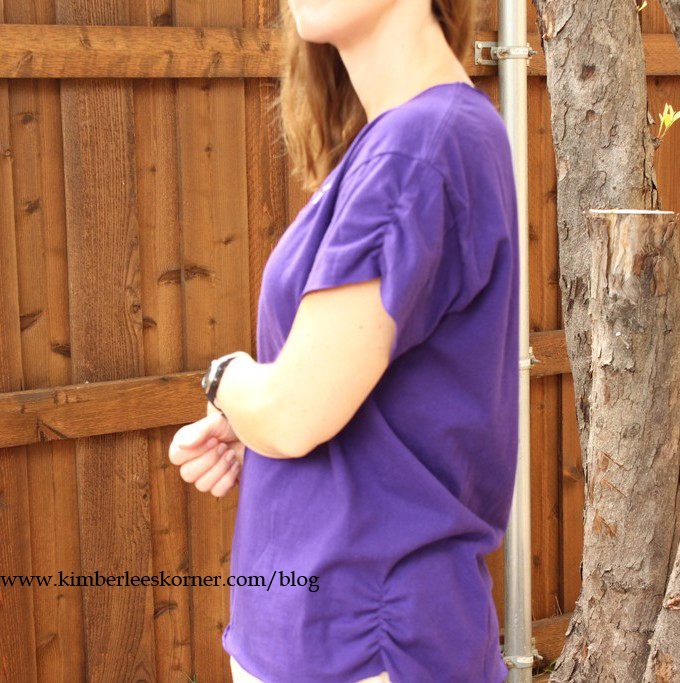
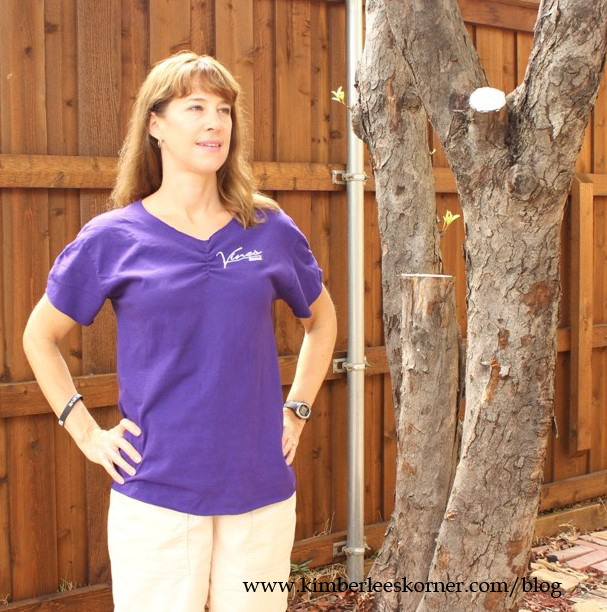
AFTER PHOTO:
T-shirt makeover by Kimberlee from Kimberlees Korner
This project is very easy and requires basic sewing skills, a sewing machine, 1/8 or 1/4 inch wide elastic and a T-shirt.
Here are the steps to makeover your basic T-shirt:
Cut off neckband (ribbing), sleeve hems, and lower hem
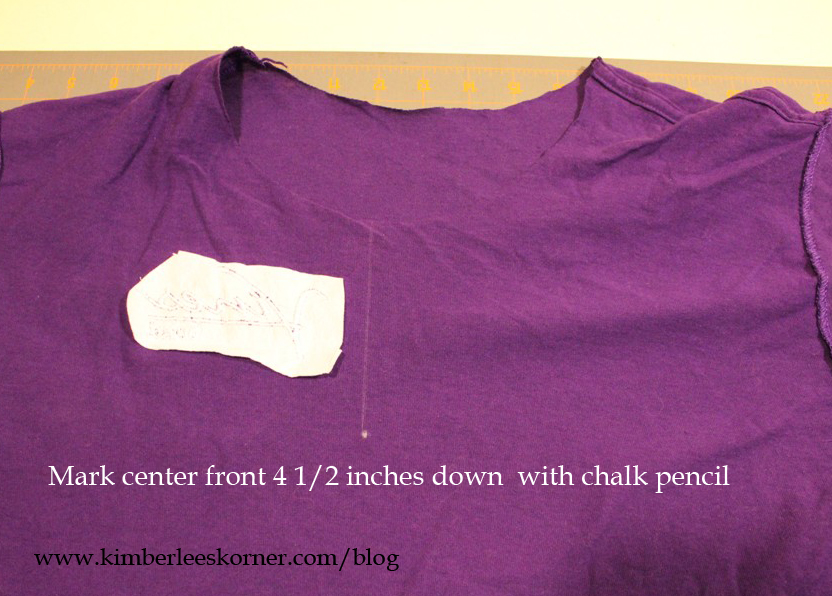
Use a chalk pencil and mark each center sleeve, lower side seams and front center down 4 1/2 inches on wrong side of shirt – draw a straight line with chalk from edge of shirt to this mark – this will be your sewing line for the elastic
mark t-shirt on wrong side with chalk pencil and draw a line for sewing guide
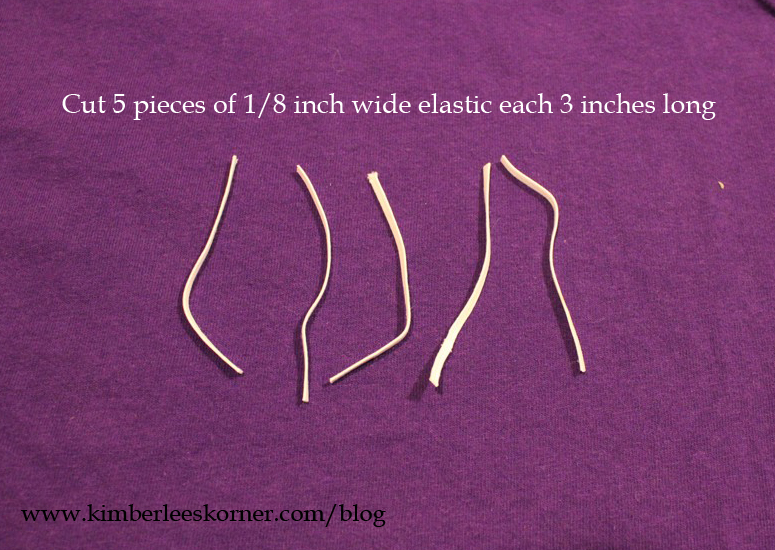
Cut 1/8 in. (or 1/4 in.) wide elastic into 3 in. long pieces – you will need to cut 5 of them
elastic cut into 3 in. long pieces
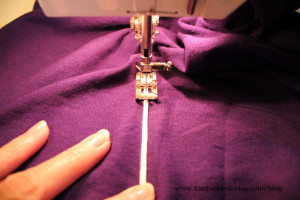
Use a sewing machine set on straight stitch – start at the marked point and stretch elastic and sew to the end
sewing elastic to t-shirt – stretch as you sew from marked point to end
Repeat step 4 for all marked areas: sleeves, lower hem and neckline
Your T-shirt is Done! Put it on and take a photo!
sleeve & hem view of t-shirt makeover by Kimberlees KornerFinished T-shirt makeover by Kimberlee from Kimberlees Korner
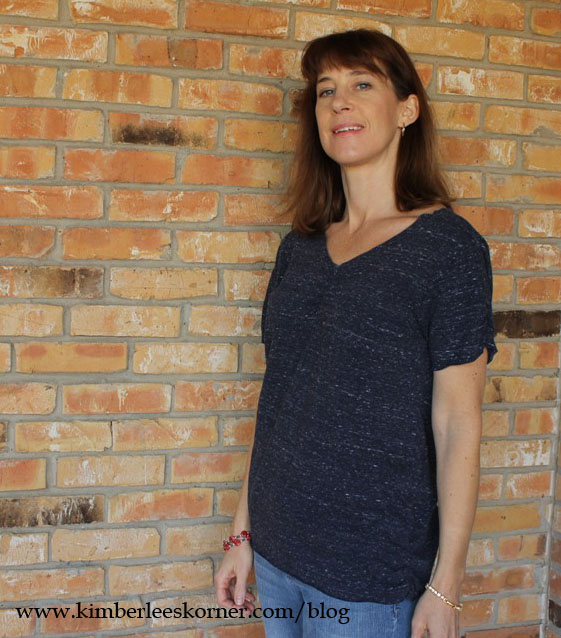
I also did this to another shirt a while back that is navy. It is harder to see the work in this photo but I love the look of the finished shirt and how it adds something to a plain T-shirt. This navy shirt is actually a mens shirt from Target.
navy t-shirt redo by Kimberlee from Kimberlees Korner
Send me an email at kkg@kimberleeskorner.com with your finished shirt – I would love to see them and feature them on my facebook page.
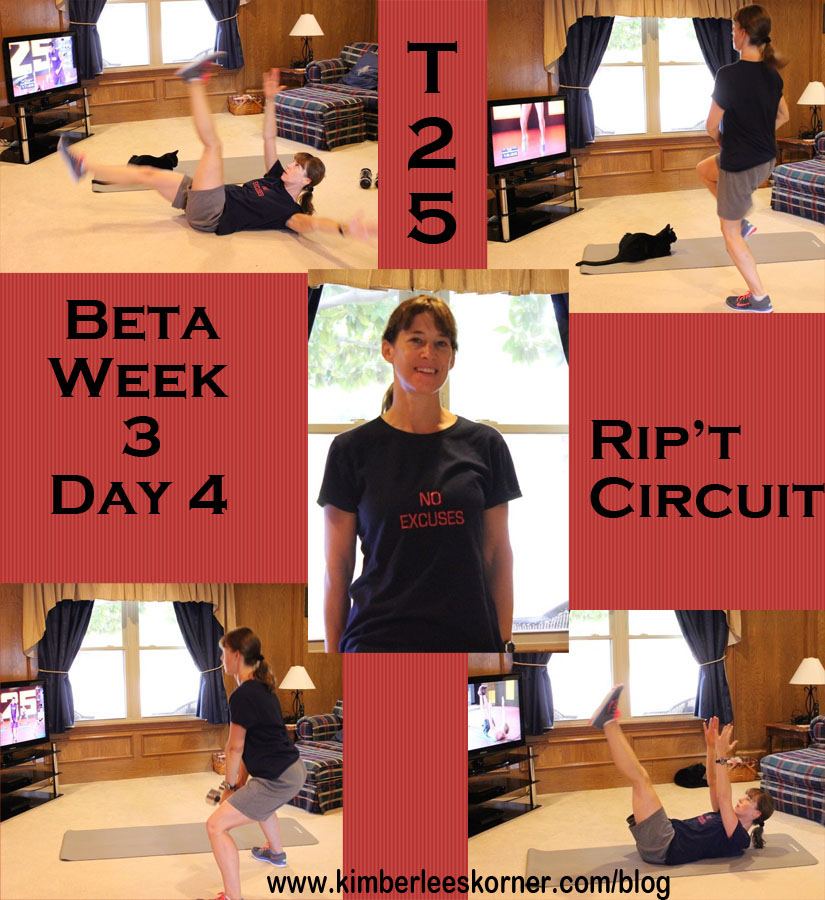
The third week of Beta round is complete! I am really starting to notice things changing after this week. My core and lower abs seem much tighter than they were just a week ago. My stamina during the workouts has also greatly improved since I started the program 11 weeks ago.
I do not own a scale so I do not know how much weight I have lost since starting T25. I do know my clothes are fitting differently – loose in the waist and hip area. I have lost approximately 5 3/4 inches over all. The most significant loss has been in the hip area for a total of 2 1/2 inches. That is followed by the waist where I have lost 1 1/2 inches. I have lost the least amount of inches in the arms and thighs but I didn’t feel like those two areas were that critical to me. I am very pleased so far with my results.
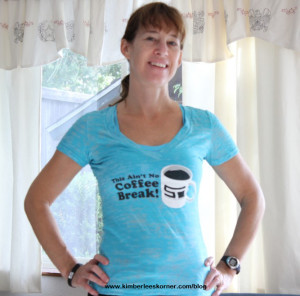
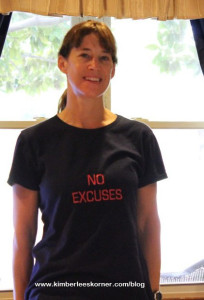
Below are some of the photos from this past week. The one photo is of the shirt I bought at ShaunTervention last weekend and the other shirt photo is of one I embroidered titled NO EXCUSES.
Shirt I bought from ShaunTervention event in Dallas to workout in – it says This Ain’t No Coffee Break Kimberlees Korner
New workout t-shirt I embroidered NO EXCUSES Kimberlees Korner
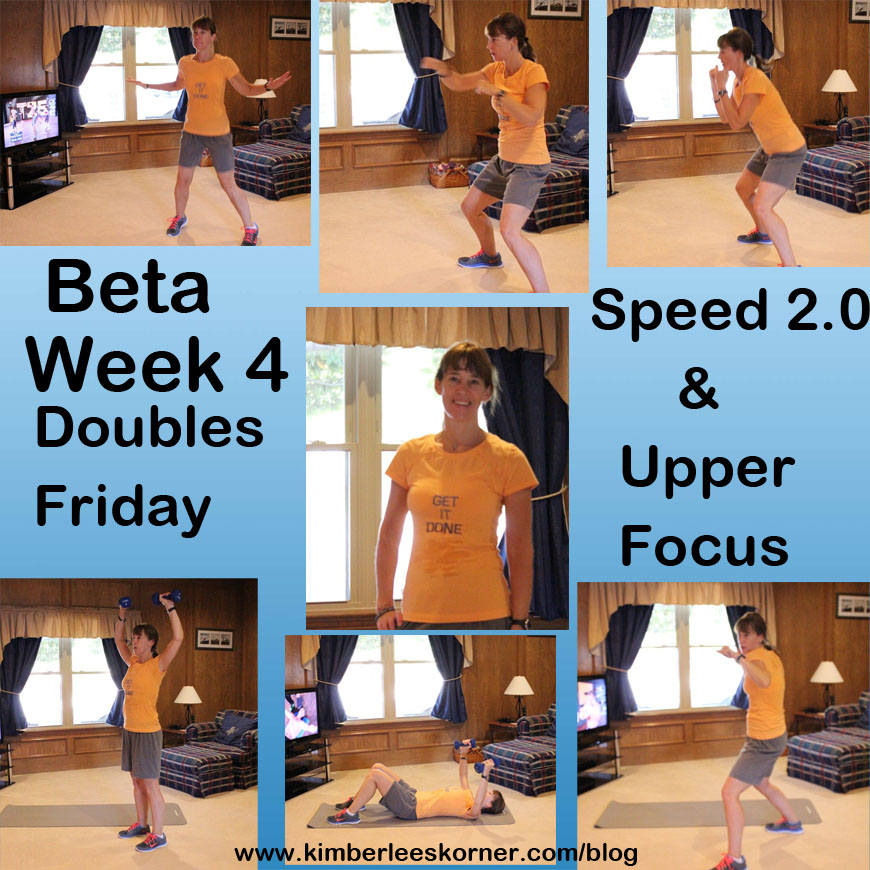
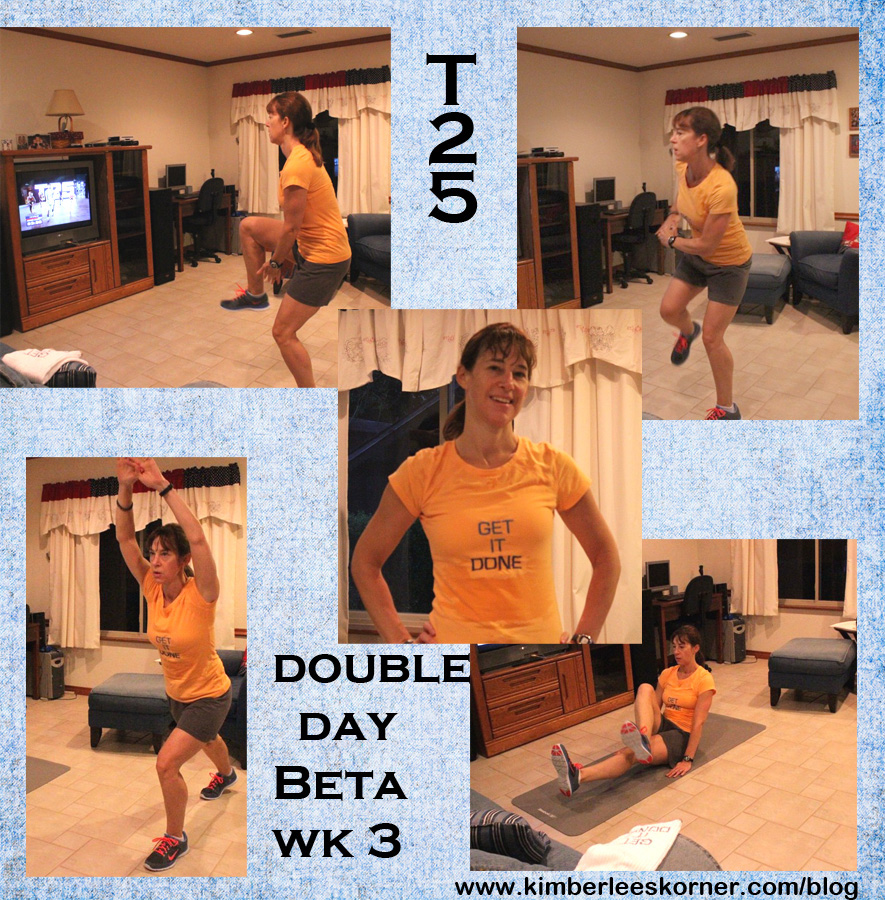
On Friday, the double workout day, the schedule was for Speed 2.0 + Dynamic Core. The workout set came with a bonus dvd called Core Speed. It tells you that you can replace Speed 2.0 with Core Speed so that is what I did this past Friday since I had just done Speed 2.0 on Wednesday. I had already done Core Speed a few times during the Alpha round as an extra Saturday workout but had not done it in over 3 weeks. I really like Core Speed – I think better than Speed 2.0. Both are very fast paced but I like the moves better in Core Speed.
I also bought a new yoga book this past week and have stated doing some of the routines from the book in the evening or on the weekend days. I love T25 for the cardio and sculpting but my body is telling me I need more flexibility and stretching – I also think I have been missing my yoga! I will plan to review the yoga book and my progress with it after I have used it some more.
I hope everyone had a great week with their workouts. I will post again next week after week 4 of T25 Beta is complete.
I have recently discovered the amazing health benefits of beets. Beets are full of nutrients that help us look younger and feel our best. They contain the antioxidant betacyanin as well as iron, maganese, potassium, silica, and fiber.
Here are some of the benefits of eating beets:
-purify the blood
-anti-carcinogenic properties
-boost the livers natural defenses
-lower cholesterol levels
-regenerate immune cells
-help maintain healthy bones, hair, nails and skin
The other thing I like about eating beets is the variety of ways you can use them. I have added them raw to a smoothie or roasted them in the oven and eaten them warm with my meal as a side dish. I also like to use the roasted beets cold or at room temperature on a salad. Below are some of the recipes I have made up and used with beets. Give one or all of these a try. The smoothie recipe is very refreshing and gives you energy!
[amd-zlrecipe-recipe:3]
[amd-zlrecipe-recipe:2]
[amd-zlrecipe-recipe:4]
I hope you enjoy these recipes. Let me know by leaving a reply some of your favorite beet recipes.
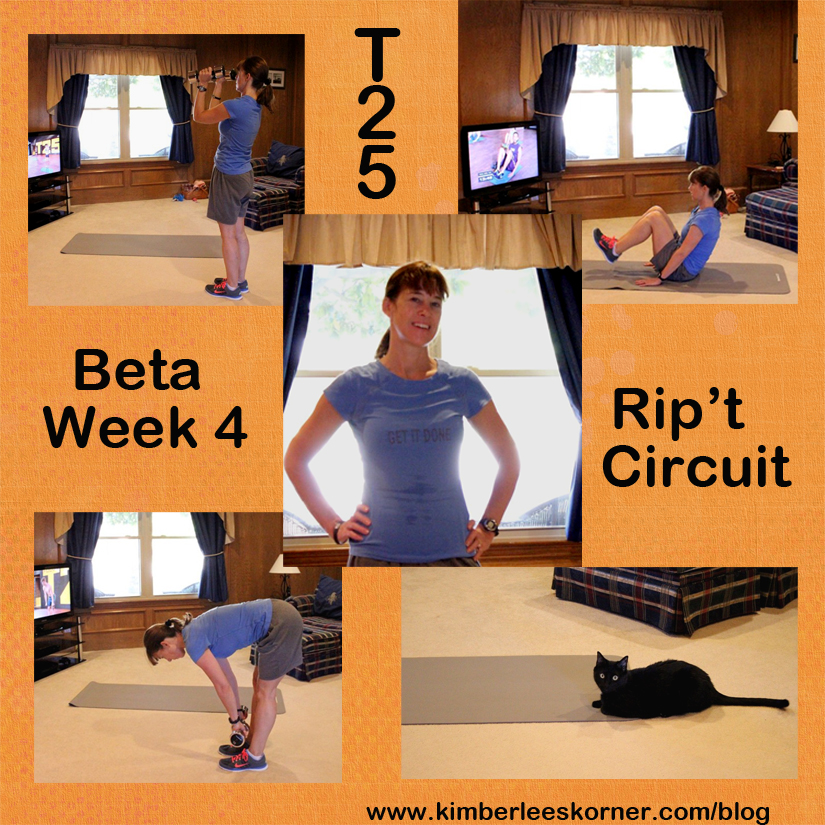
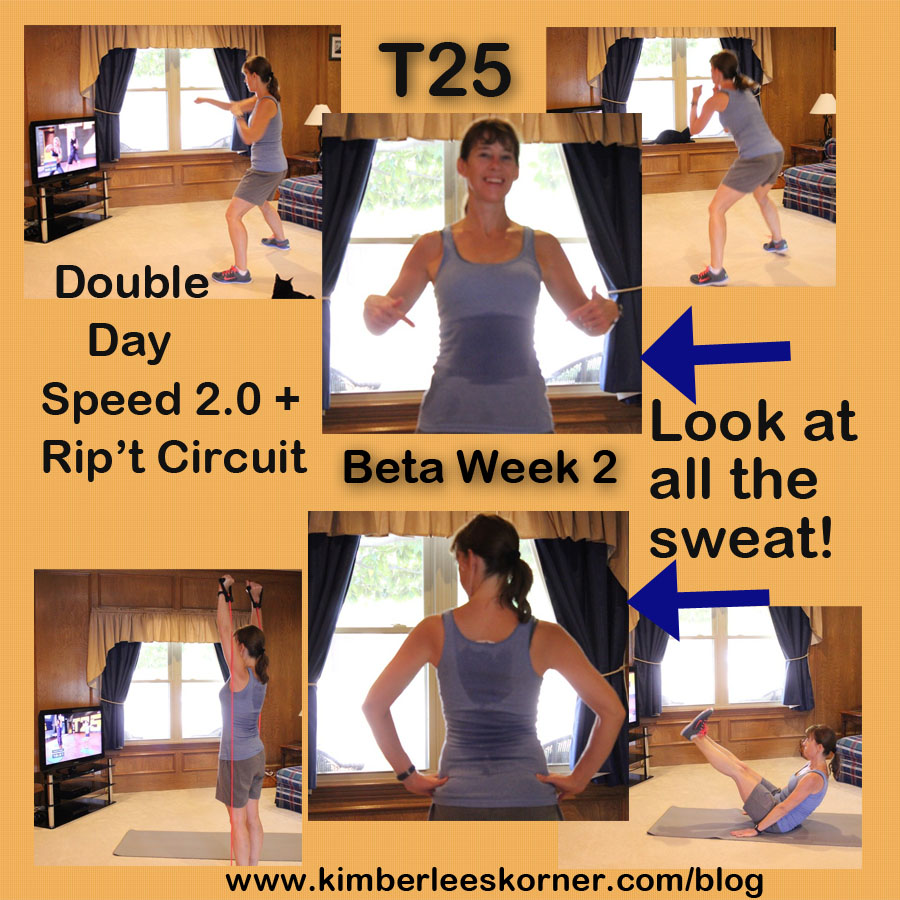
Week 2 of Beta round T25 – Nailed It! This is the completion of week 7 of the overall workout and week 2 of Beta for my challenge group. The workouts are more challenging in this phase and I really like the fact that a couple of them you use weights or the band with handles for resistance. I like all the cardio but also enjoy doing strength training which the 2 workouts, Rip’t Circuit and Upper Focus, have both of those in them.
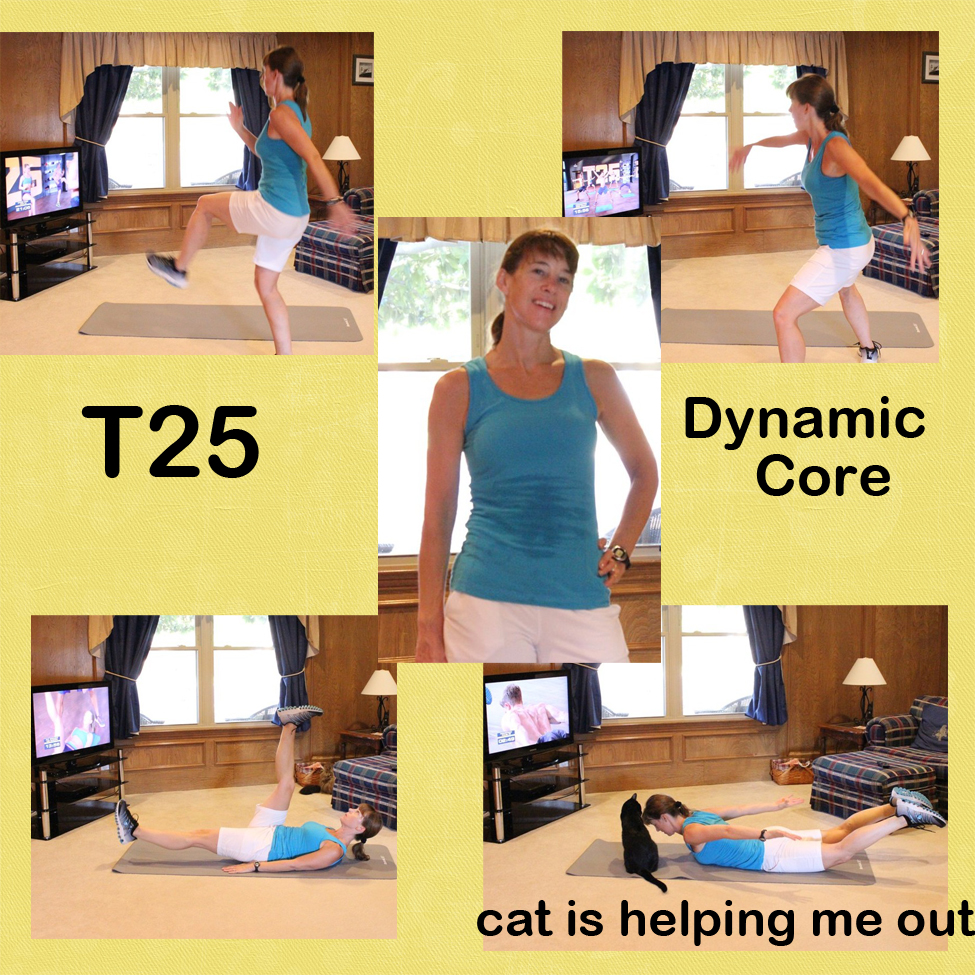
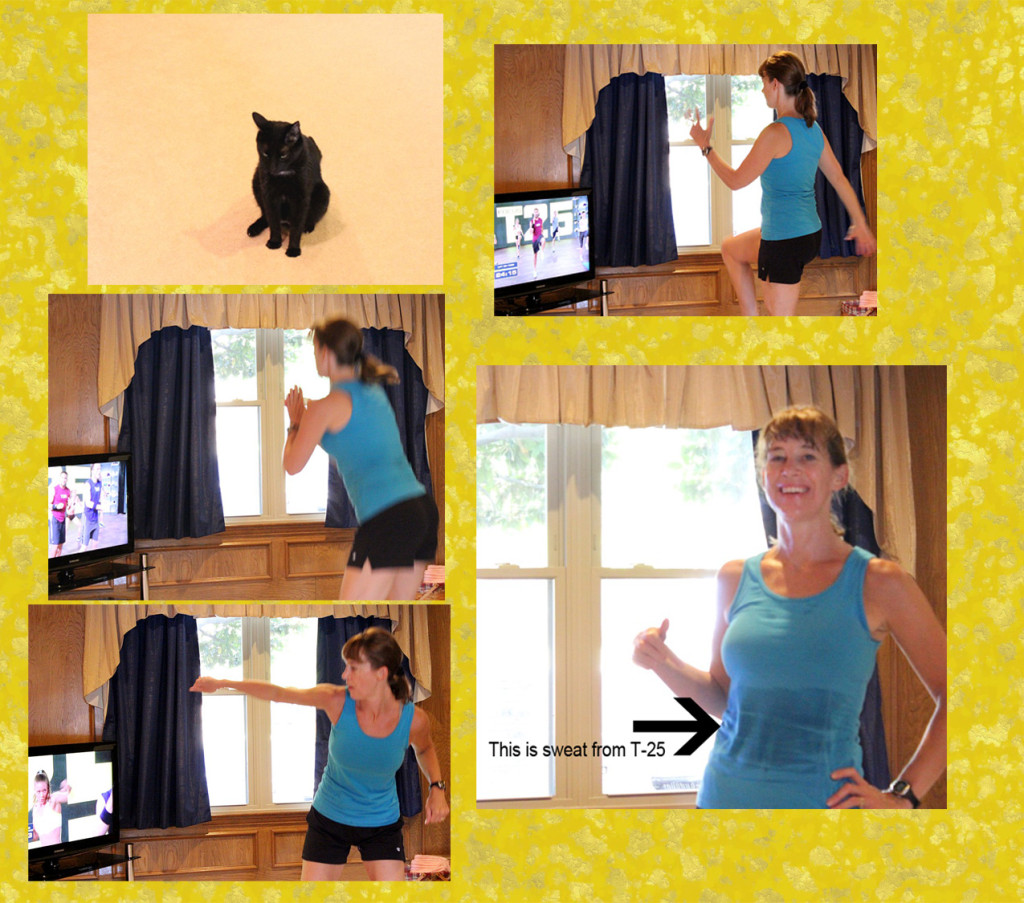
This photo collage below is from Friday, double workout day. The workouts were Speed 2.0 & Rip’t Circuit. It was a great workout but also kicked my butt. Tons of sweat as seen in the photos.
Focus T25 photos from Kimberlees Korner
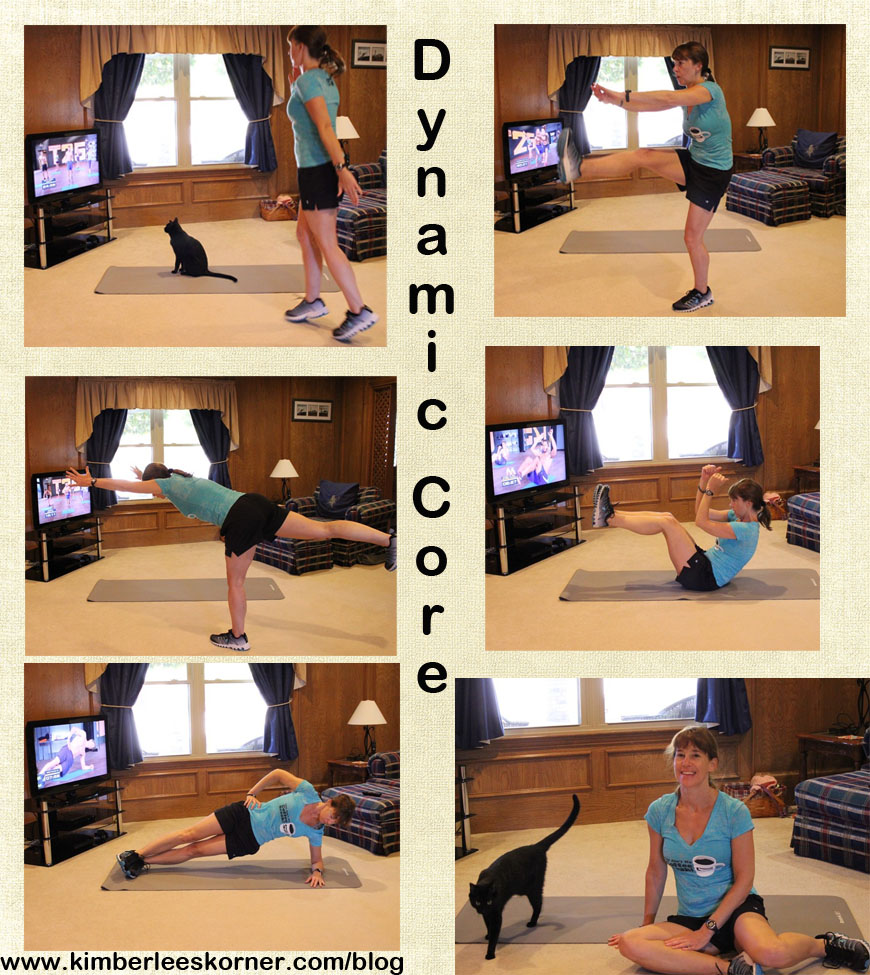
I am really enjoying the Beta round so far. See my week 1 Beta round post for info on the workouts included in this phase. I think my favorite so far is still Rip’t Circuit followed by Dynamic Core. Below are some of the photos from the week of workouts. I only had time to do a collage for Friday of this past week – the above collage. I had a lot going on with my kids’ schedules this week and doing some new embroidery designs on shirts and towels. A couple of the shirts I embroidered can be seen in the below photos.
Dynamic Core Focus T25
new workout shirt I embroidered to wear www.kimberleeskorner.com/blogLunges in Core Cardio T25 Kimberlees Korner
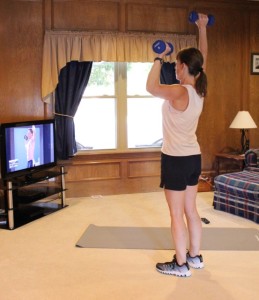
photo after finished T25 Core Cardio – another new shirt I embroidered to workout in – that is sweat on the lower part Kimberlees KornerT25 Upper Focus – using weights
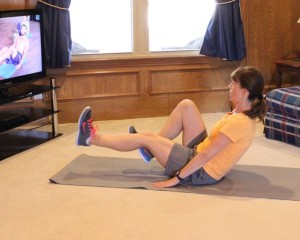
some of the floor work in T25 Rip’t Circuit
#SHAUNTERVENTION DALLAS 2013
I was also getting ready for the ShaunTervention event in Frisco, Texas that I attended yesterday, Saturday, Sept. 14th. All I can say is that it was Awesome!
We did a tough workout in the morning around 9:45am that lasted about 45 minutes to an hour. Shaun T gave us a 15 minute break and then we all got small notebooks and a pen to take notes on form – called form PerfecShaun. He explained how form over speed = results. He then went on to explain various exercises like lunges, planks and push ups and proper form. We got to take notes and then do more working out while the ShuanTourage team went around to make sure you were doing them in proper form.
After lunch their was his keynote address which was really positive and motivating. He spoke a little about his background and how he got started in the fitness business. He also talked about living to your best potential and how important it is to the overall quality of your life. There was also a Positivity Index quiz to see what types of people you have in your daily life and how they affect you and you affect them. After the quiz he talked about “Raising Your Bar – What changes can you make to elevate the positivity in you life?” We also received these cool journals that begin each week with a positive affirmation and there is space to write in each day of the week to document your journey into discovering your life and making yourself a priority.
After the keynote there was a Q & A session then we each got a professional photo made with Shaun T. The photos are not available for us yet but hopefully will be later this week. I did take a few photos of his keynote session.
Shaun T at #ShaunTervention Dallas 2013
#ShaunTervention Dallas 2013 – Shaun T giving his keynote address
I also met some very nice people there. Two of the ladies I met do Shaun T’s Insanity workout. One of them drove 2 1/2 hours to come to the event.
Overall this was a great event and I am so glad I took my mothers advice and signed up to go. I was nervous about working out in front of so many people as I have not done that since attending a jazzercise session in 1987 with a friend. I always workout at home, on my own, to various dvd’s. This was a big change for me – out of my comfort zone. I am so glad I did it though and proud to say I made it through the workout!
I hope everyone is having a great weekend. I am resting today, Sunday, and looking forward to starting week 3 of Beta T25 tomorrow morning.
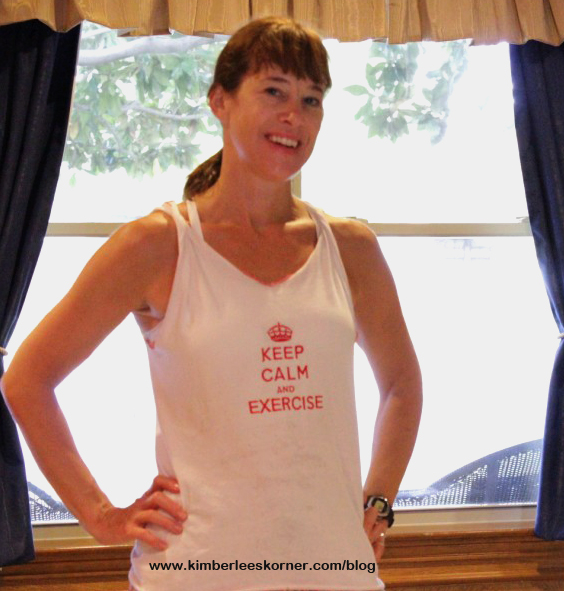
This tank top design is made from a T-shirt. It has quickly become one of my favorite tank tops to wear and to sew.
Twisted Tank Top by Kimberlee from Kimberlees Korner
I designed this tank top after seeing a photo of a tank top pattern that had the twisted shoulder area. I decided I could use a basic T-shirt and make my own version. Therefore it is a quick and easy sewing project.
Twisted Tank Top with embroidery “Keep Calm and Exercise” made by Kimberlee from Kimberlees Korner
The one in the above photo I wear to workout in. I added the embroidery to the front – Keep Calm and Exercise. I got the embroidery design from Embroidery Library. I serged the armhole edges and the lower hem edges on the ones in the photos but you can also make it without the serged edges.
If you are interested in learning how to make one of these tank tops I have a tutorial available in my etsy shop. You can click on the link to take you there.
I completed the first week of Beta round in T25 yesterday. This is week 6 of our challenge group but week 1 of the Beta round, the new round of 5 different workouts. The workouts in this phase are:
All of the workouts are 25 minutes, just like the Alpha round, with a 2 to 3 minute cool down stretch at the end of each workout.
Below are some of the photo collages from the workouts:
I am loving the new workouts in this Beta round! I think my body was ready for a change. I had actually done the Alpha round for 8 weeks. I had started the workouts before the challenge group started and had to begin all over again at week 1 of Alpha when the group started on July 29th.
The Beta round is a little more challenging since it seems faster paced. Also, in a couple of the workouts you use some weights. I used 10 pounds for Rip’t Circuit and 8 pounds for Upper Focus – you can also use an exercise band with handles that comes with the workout. I was sweating a ton every day with each workout. Speed 2.0 is so fast it was hard to keep up at times.
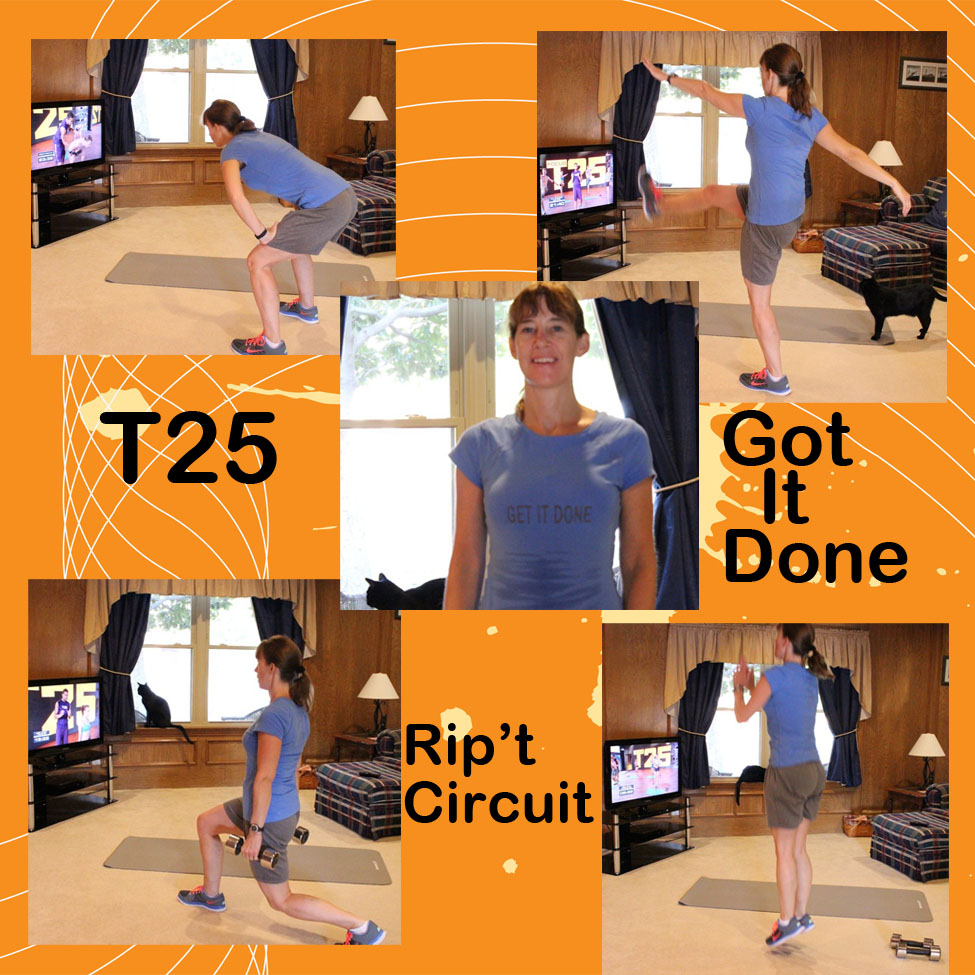
So far I think my favorite dvd in this round is Rip’t Circuit. There is cardio and weight training in this workout – it is a great total body workout. The time flew by on this one. I can not wait to do it again next week.
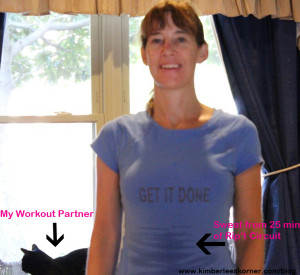
Photo after finished Rip’t Circuit – T25 – tons of sweat – also embroidered a new shirt that says “Get It Done” – Shaun T’s motto
In the above photo I am wearing a new workout shirt I embroidered that says GET IT DONE. This is one of Shaun T’s phrases he uses in the workout. I told my kids it is my-their new motto for getting things done that I ask them to do like chores, homework, etc. I think I need to embroider more shirts and wear them every day as their reminder.
This week for a new recipe I made these Power Bites. They are a blend of oats, protein powder, dried fruits with a nut butter and agave nectar. They are no bake and pretty quick to make but your hands get kind of messy. It is best to store them in the refrigerator in a container.
[amd-zlrecipe-recipe:1]
I hope everyone had a great week and got their workouts in. I am looking forward to week 2 of Beta round next week. I am also looking forward to next Saturday as I will be attending the Shauntervention event in Dallas. I can’t wait to go to this and see Shaun T, the creator of Focus T25, live and hear what he has to say. Therefore, next week I will probably post about the workouts and the event on Sunday.
Follow my blog with bloglovinto receive future posts. Have a great weekend!
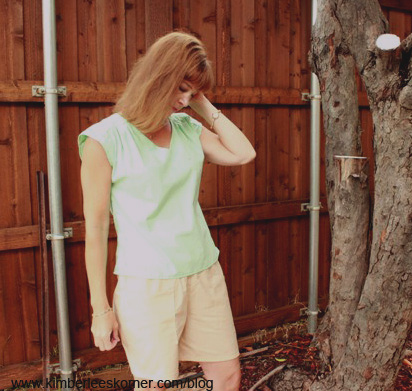
I made these two tops recently from the same pattern. The pattern I used was Simplicity 2594. There are 6 different views in this pattern.
The tops were pretty easy to sew. They have a lined yoke area that I thought would be difficult to sew but it turned out to be pretty simple. There is a little topstitching involved so it is helpful to have an edge stitch foot for that.
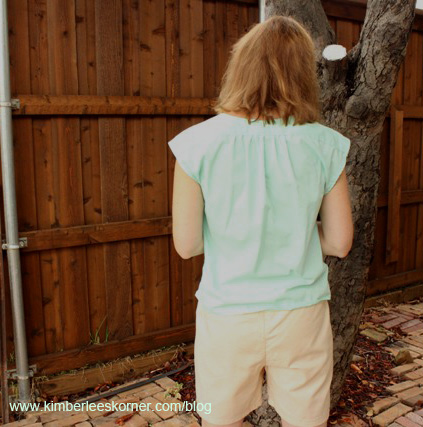
mint green v neck top sewn by Kimberlee from Kimberlees Kornerback view of mint green top sewn by Kimberlee from Kimberlees Korner
I made the mint green one above first and really like how it turned out. I used a basic broadcloth fabric and it was easy to sew on. I have already worn this top many times. This top has a v neck front and a gathered back. There are also a few pleats on the front on each shoulder area. This was view E in the pattern.
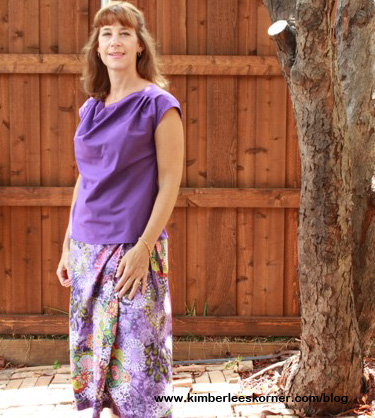
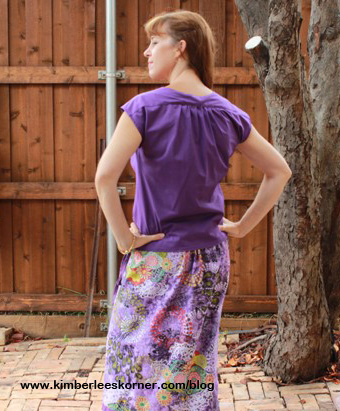
purple top sewn by kimberlee from kimberlees kornerback view of purple top sewn by kimberlee from kimberleeskorner
The second one I made was this purple one in the above photos. I used the same pattern but made a different view – view B – with the draped cowl neckline. This top is okay. I don’t like how it tuned out as well as the mint green one. I used broadcloth fabric again because it was something I had in my stash and I think a rayon or silky poly fabric would have been a better fabric choice. Even after sewing over 20 years I still make things that don’t always turn out as planned. I have wore this top a couple of times. I am also thinking that I do not care for how the drape of the cowl neck looks on me. I will be sticking with the v neck option or the scoop neckline in the future.
What sewing projects have you been working on lately? Leave me a Reply and let me know.
Today marks the end of the Alpha round for Focus T25. I have completed the first 5 weeks of the challenge. Now we are on to the Beta round. I am excited and looking forward to the new workouts in this round and the challenges they will bring.
The following are some photo collages of the past week – week 5:
Week 5 Day 1 of Focus T25 Challenge group – KimberleesKorner
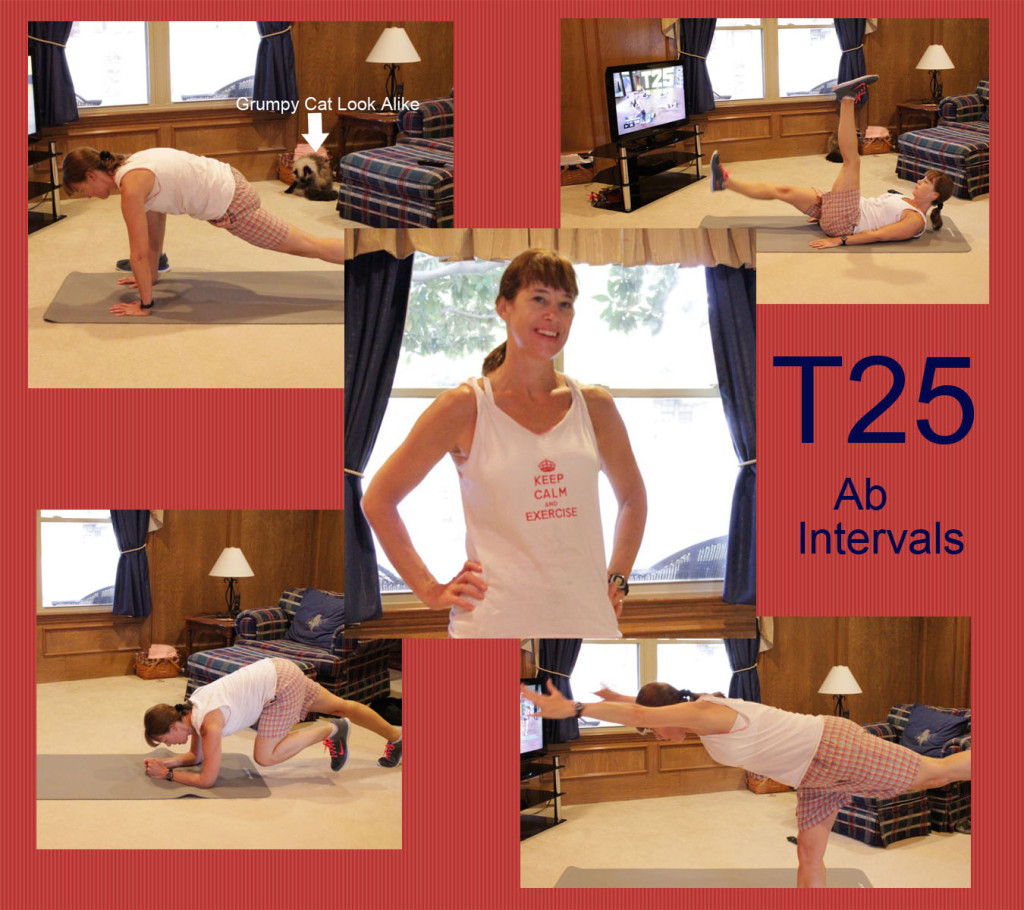
My cat is in the above collage because he had the grumpy cat face. My workout schedule had to change the past week because of the kids starting school and early marching band practice for my oldest son. The cat hangs out with me every day when I workout and he seemed upset about the time change – cats seem to be creatures of habit.
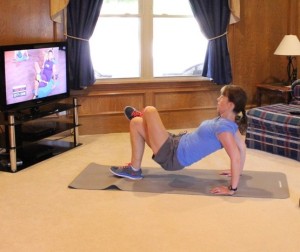
Week 5 Day 2 Ab Intervals KimberleesKorner
Last day of Alpha round – this was a double workout day doing Total Body Circuit and Lower Focus – very sweaty at the end of this KimberleesKorner
This past week we had to do Total Body Circuit three times – it was tough! I was pretty strong on Monday getting through most of those push ups on the toes but by Wednesday and Friday I had to do some of them on the knees toward the end of the workout. Tons of sweat on those three days!
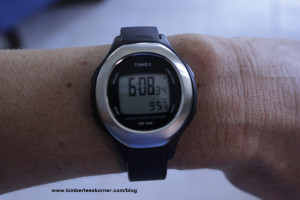
Also, I got a new fitness watch at the beginning of the past week. It is a Timex Health Touch watch. It has a heart rate monitor, stop watch, timer and and activity setting to see your calories burned. It also has 2 time zone settings. The instructions it came with are kind of vague. It is easy enough to set the time and operate I just was not sure how the calories burned – activity setting and heart monitor setting worked until I used it for a couple of days. I don’t think it measures the calories you burn per workout but rather for the entire duration of a day. For example I set it on Thursday in active mode and it ran for 17 hours, from 6 am to 11 pm (it was a long day!) and it said I burned 2700 calories. I kind of like the fact it calculates overall daily calories burned not just during your workout. This is the first health watch with a heart rate montior I have had so I have nothing to compare it to. Also, you do not have a chest strap to wear with this watch. In the photo below it shows the activity setting for 6 hours and 8 minutes – I have burned 957 calories – this was my double workout day (Friday) so I really burned a lot of calories that day – it was amazing!
Health Watch has a heart rate monitor, stop watch, timer and calories burned setting KimberleesKorner
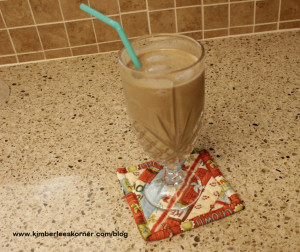
I created another smoothie recipe this week using the Spectrum Decadent Blend with chia, flax seed, cocoa and coconut. This one also has spinach in it for added greens and vitamins along with chocolate almond milk and peanut butter. If you click on the below link it will take you to the ziplist link for the recipe or I have added it below the photo.
Place all of the above ingredients in blender or nutribullet and blend 1 to 2 minutes or until smooth. Sometimes I forget to add the crushed ice so I just serve it over ice as seen in photo.
I hope everyone had a great week of working out. Click on the Leave a Reply to let me know what workouts you are currently doing. To receive future updates please subscribe via bloglovin, by email or RSS fee by clicking on any of the icons in the side bar.
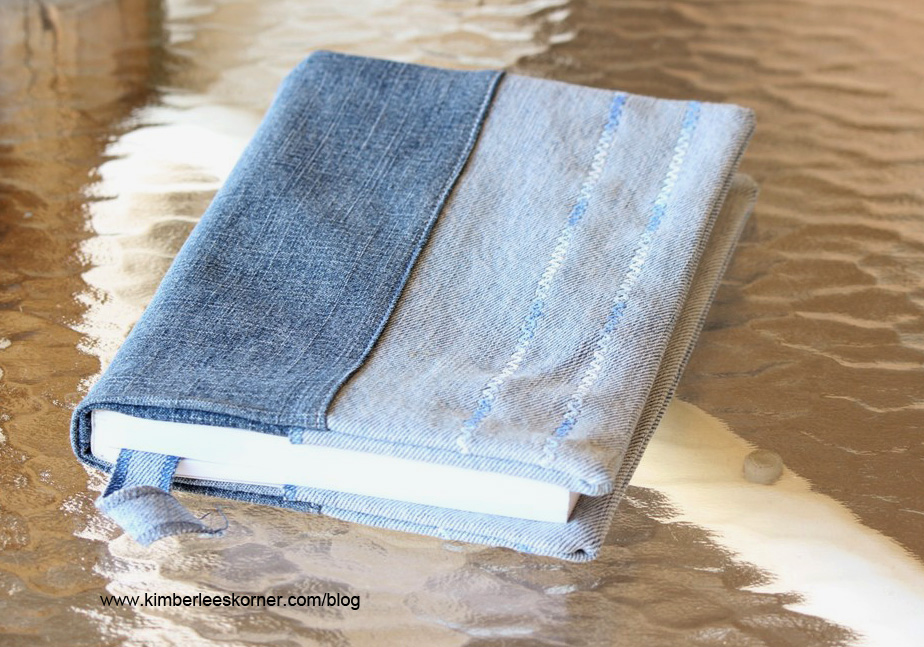
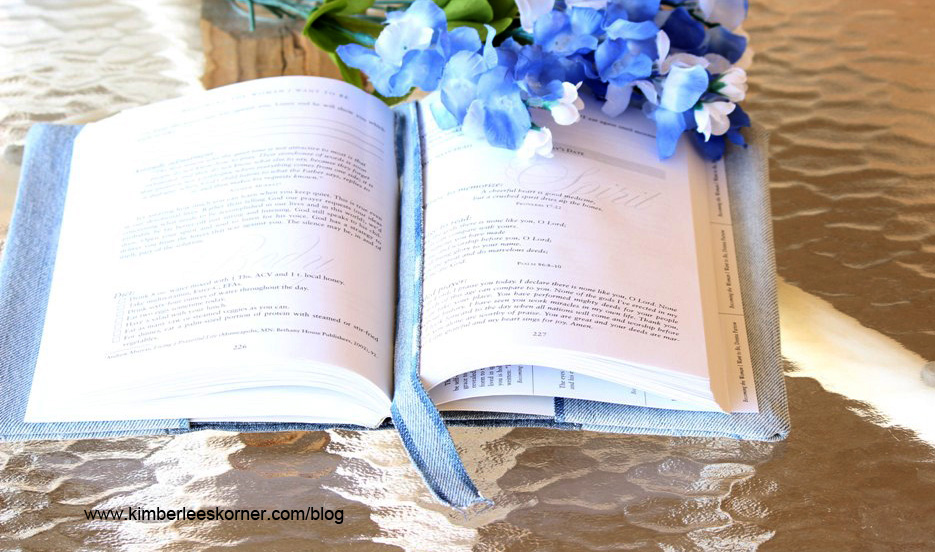
Now that I have finally pulled out some of the old jeans that I have been saving I am really getting into making things from them. This book cover is my fourth completed project using old jeans.
book cover made from old jeans by www.kimberleeskorner.com/blog
To make this project I used what was leftover from the same two pairs of jeans that I used to make myCork Tile and Denim Project. This time I did not use the pockets but used the leftover leg pieces.
Here is how I make a book cover:
Measure your book while it is opened – side to side for width, then measure from top to bottom for height or length
To these 2 measurements add 1 inch to each for seam allowances (which are 1/2 inch) So, if your measurements were 13 w by 8 h you would now have 14 w x 9 l
Note: Since this project used leftover denim from another project I had to cut 3 pieces for the outer cover – those pieces vary according to what size your book is but if you figure on adding 1/2 inch to each of the 3 pieces for seam allowance it will be approx. the right size for your book.
For my book – which measured 13″ w (opened) by 9″ l here are the pieces I cut:
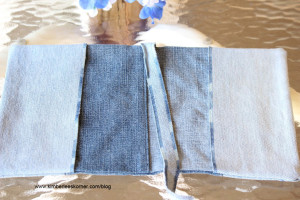
outer pieces – 2 pcs – 4 1/2″ w by 10″ l
1 pc – 7″ w by 10″ l
flaps – 2 pcs – 4 1/2″ w by 10″ l
back lining – 1 pc – 11″ w by 10″ l
bookmark strip – 3/4″ w by 12″ l
Note: after I finished it was a little wide – next time I would reduce the width a little probably by 1/2 inch.
First I sewed the 3 outer pieces together with the wider piece being in the middle using a 1/2″ seam. I then pressed them to one side and topstitched those 2 seams using an edgestitch foot.
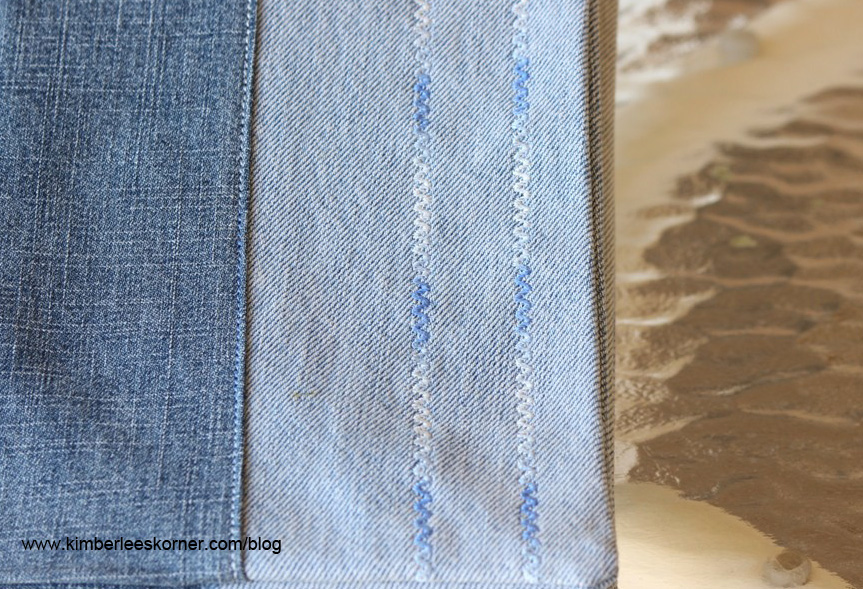
Next you sew any decorative stitch to the front however you choose – to add some color I used variegated thread. This is a fun way to use some of your decorative stitches if your machine has any or you can just use a zigzag stitch.
view of topstitched pieces and decorative stitches with variegated thread www.kimberleeskorner.com/blog
Then you attach the book flaps to each side right sides together sewing just the ends. I first serged the one side that will be exposed to prevent fraying or you can zigzag it or even turn it under.
Serge edges of long skinny bookmark piece or zigzag. Place the strip at top of one side in middle.
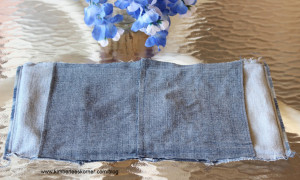
For the back lining/facing piece serge each of the sides or zigzag. Place this lining piece right sides together with outer book cover – the book flaps will be in the middle. Sew across each top and bottom piece catching the long bookmark strip in the top but not the bottom.
The above photo shows the back lining piece sewn over the flaps and front cover. I had to piece my back lining piece together to make it wide enough.
Clip the corners and turn right side out and press. Congratulations! – your book cover is done. How easy was that? I would love to see what yours looks like if you decide to make one. You can email me a photo or post it on my facebookpage.
recycled denim book cover by Kimberee www.kimberleeskorner.com/blog
What sewing projects have you been working on lately? Let me know by clicking on Leave A Reply. Have a great week!